christmas decor

DIY Christmas Tutorial: Wrapped Picture Frames

_MG_1577.jpg

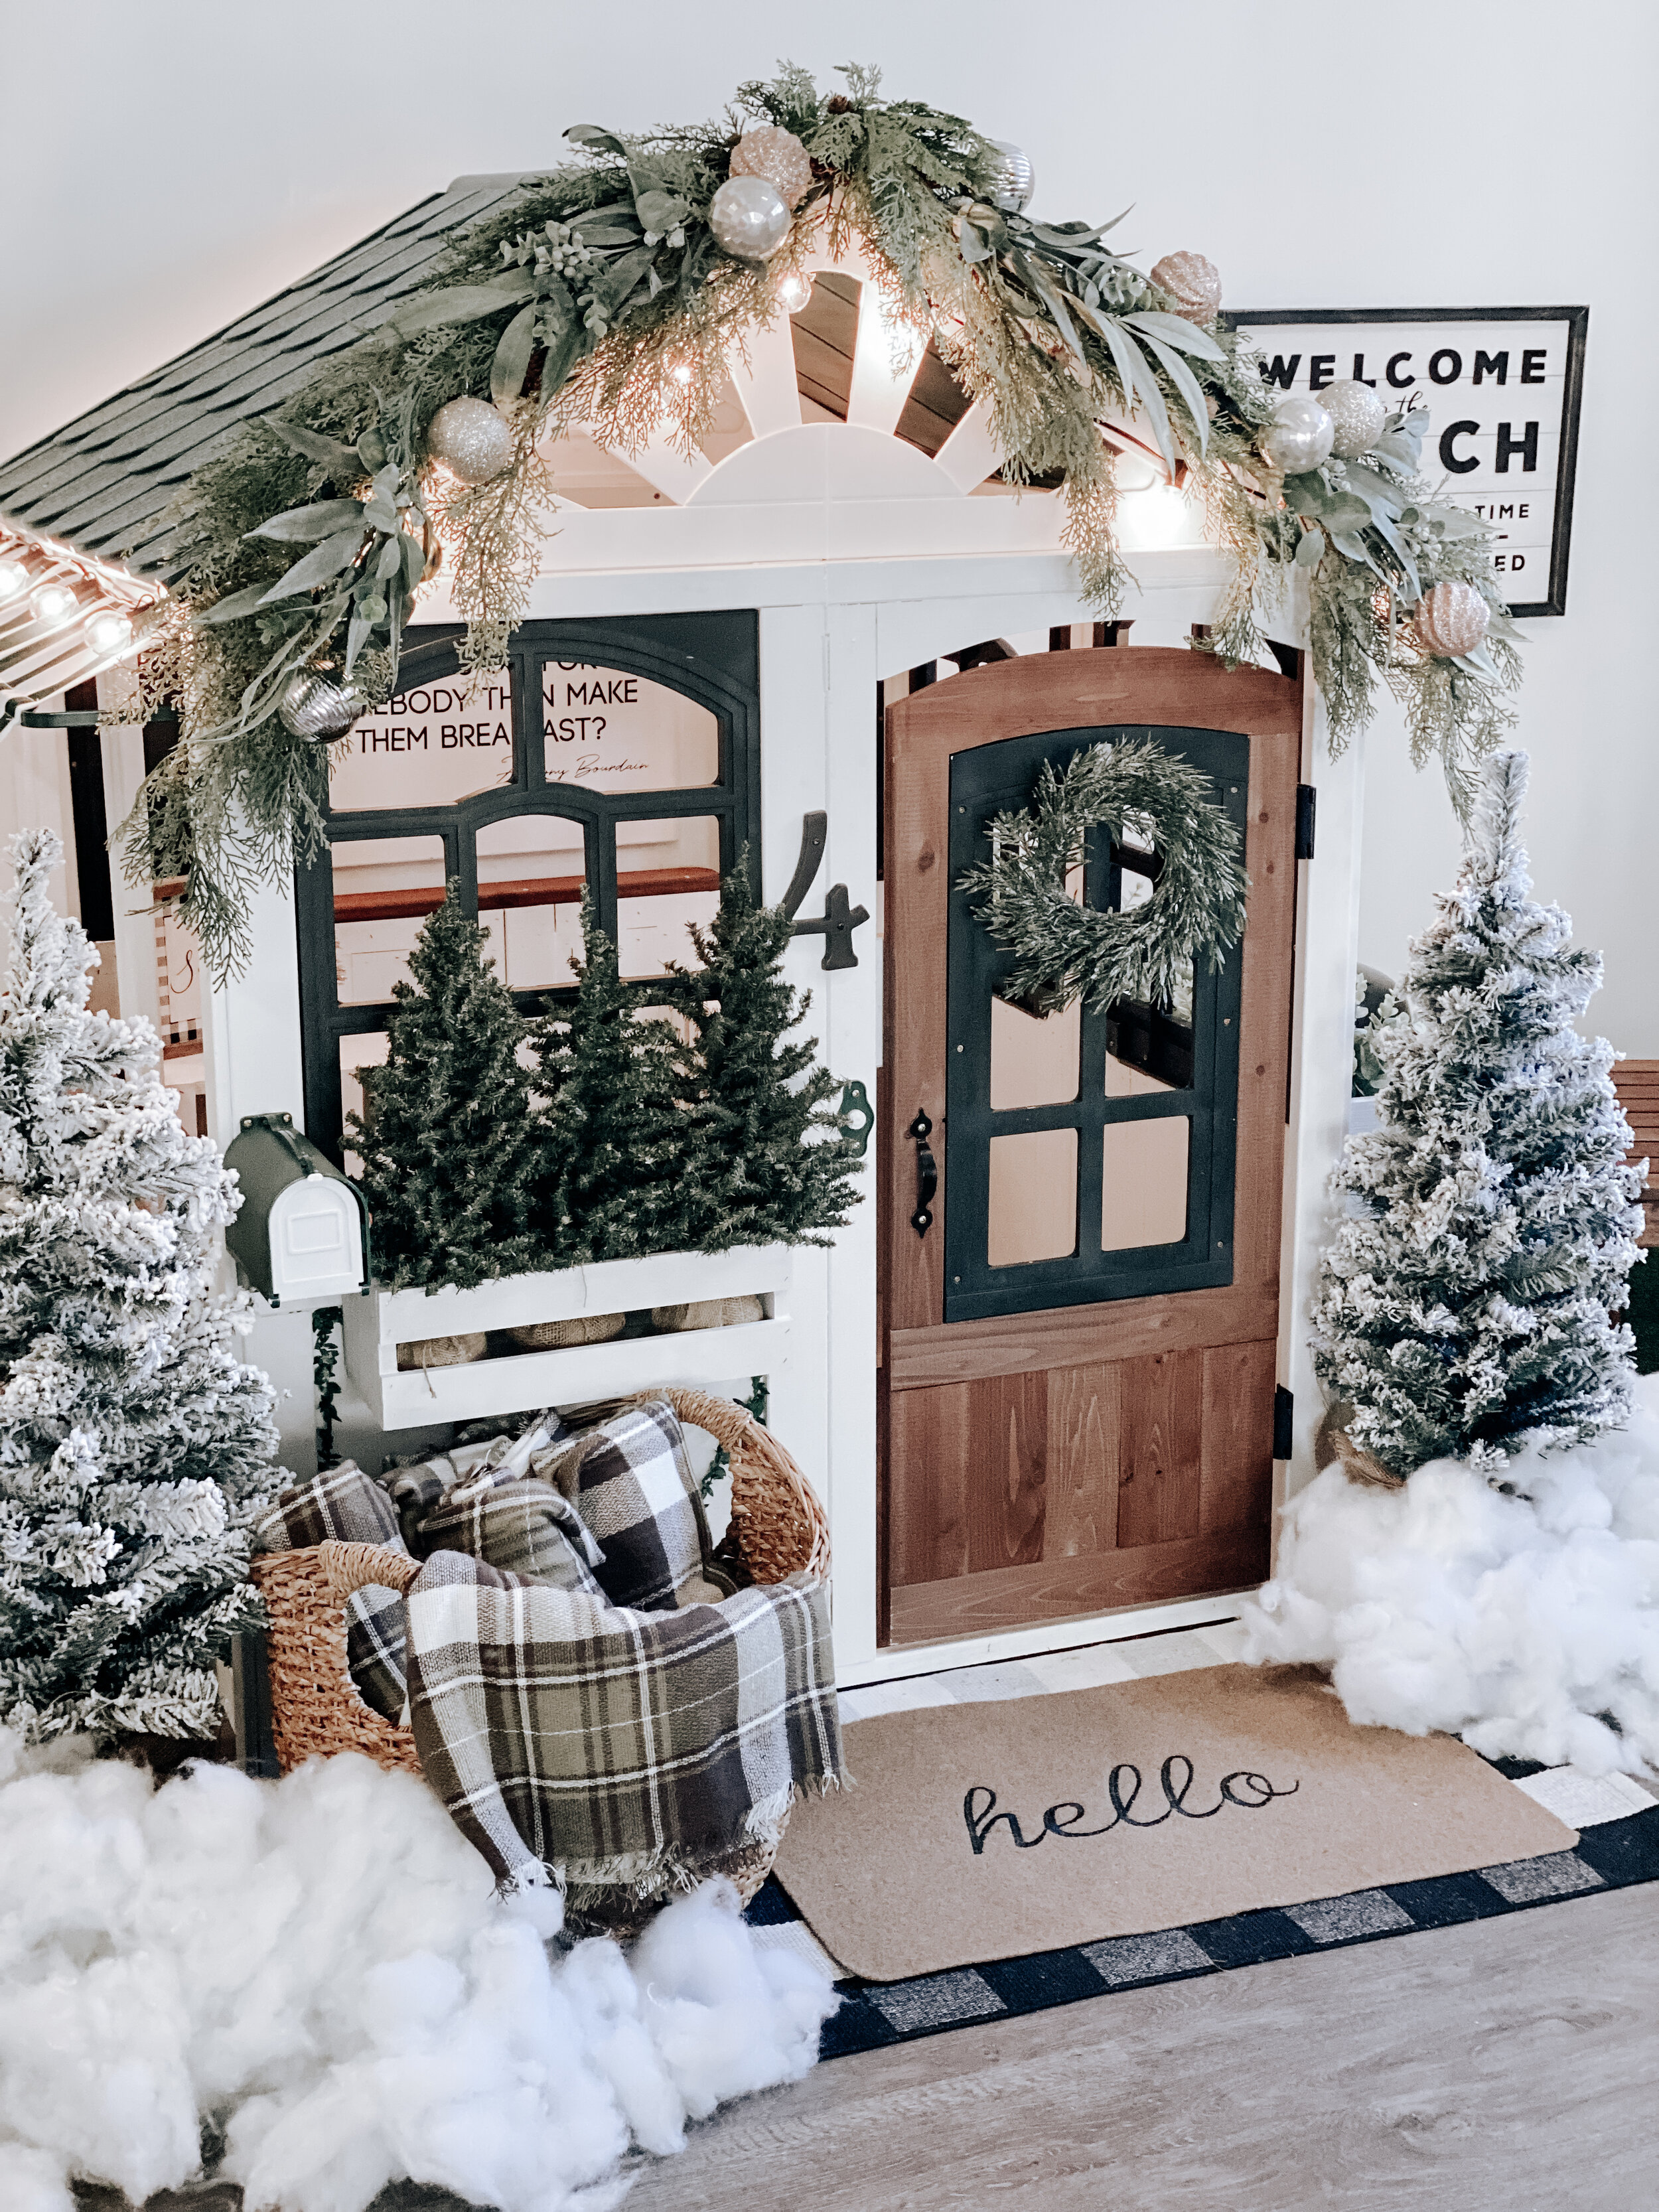
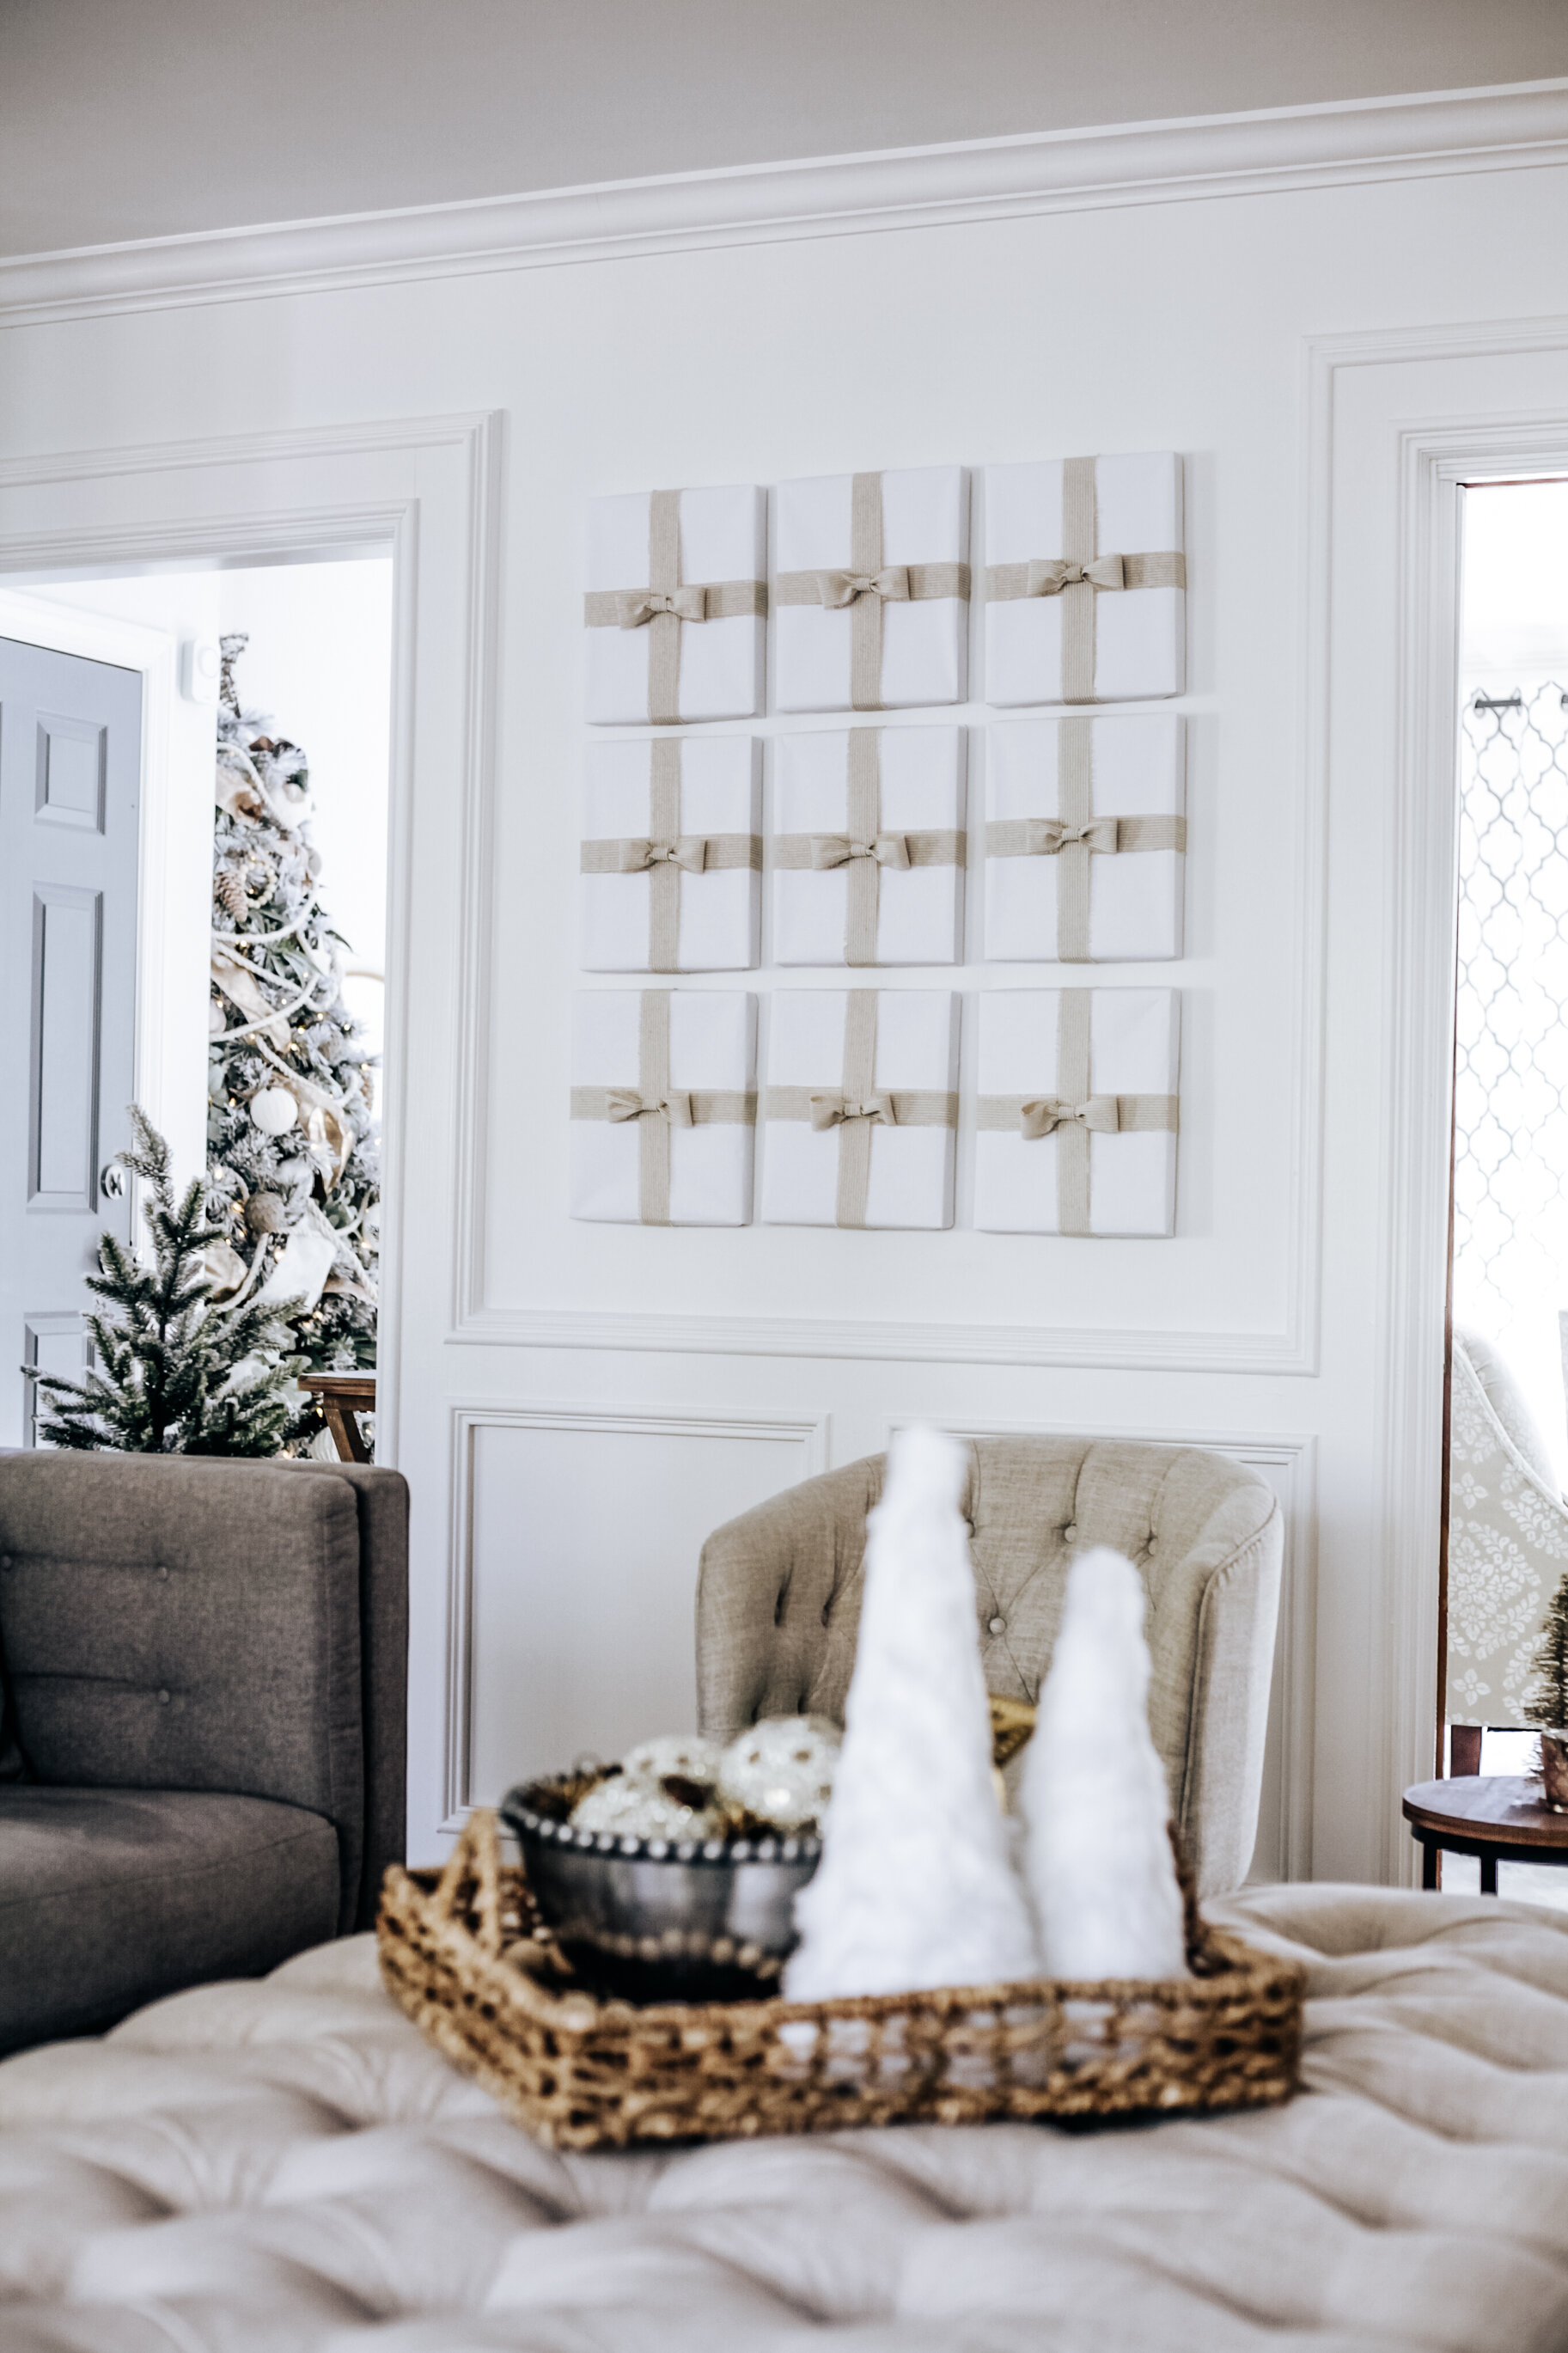
Today I’m going to show you how to do add one of the easiest and most affordable decor elements to your Christmas home collection - wrapped photo frames! This is an inexpensive and easy way to get more coverage around the house without having to buy extra decor - and you can reuse the ribbon every year!

Supplies you need:

  • Wrapping paper or kraft paper (you can get these in large rolls for bigger picture frames at places like Office Max or Staples. You can get the white kraft paper I used HERE.

  • Scotch tape

  • Scissors

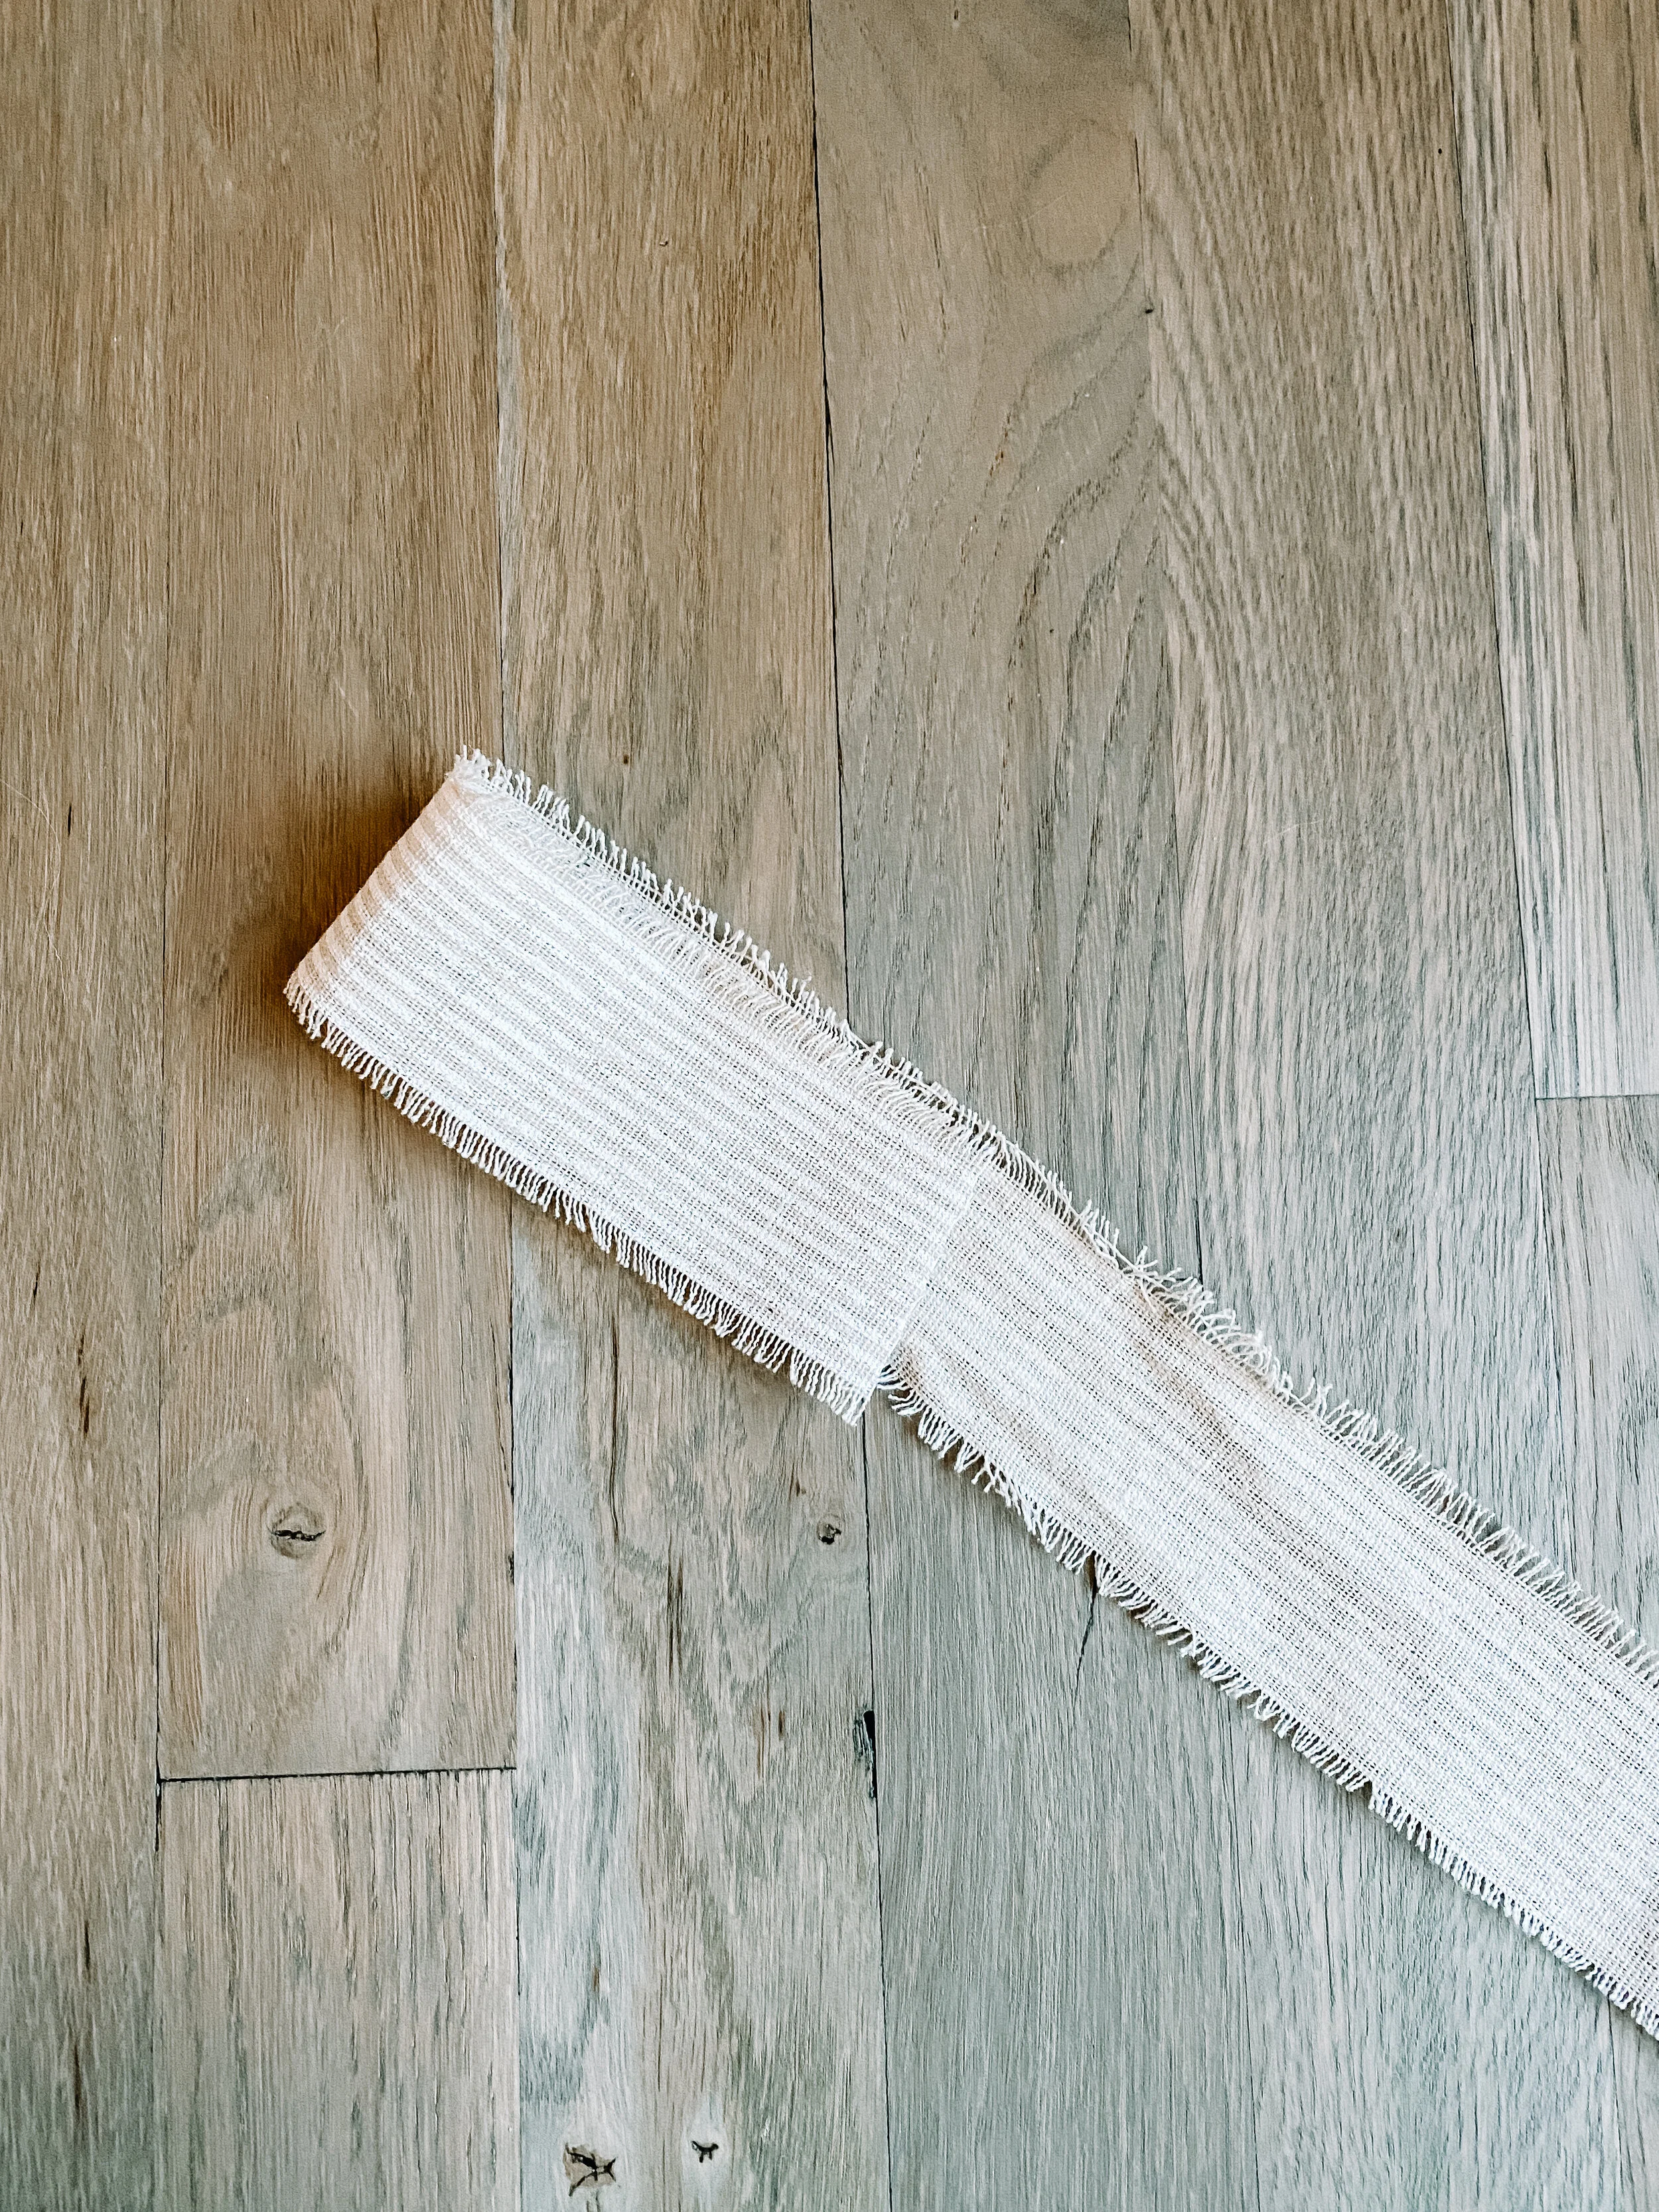
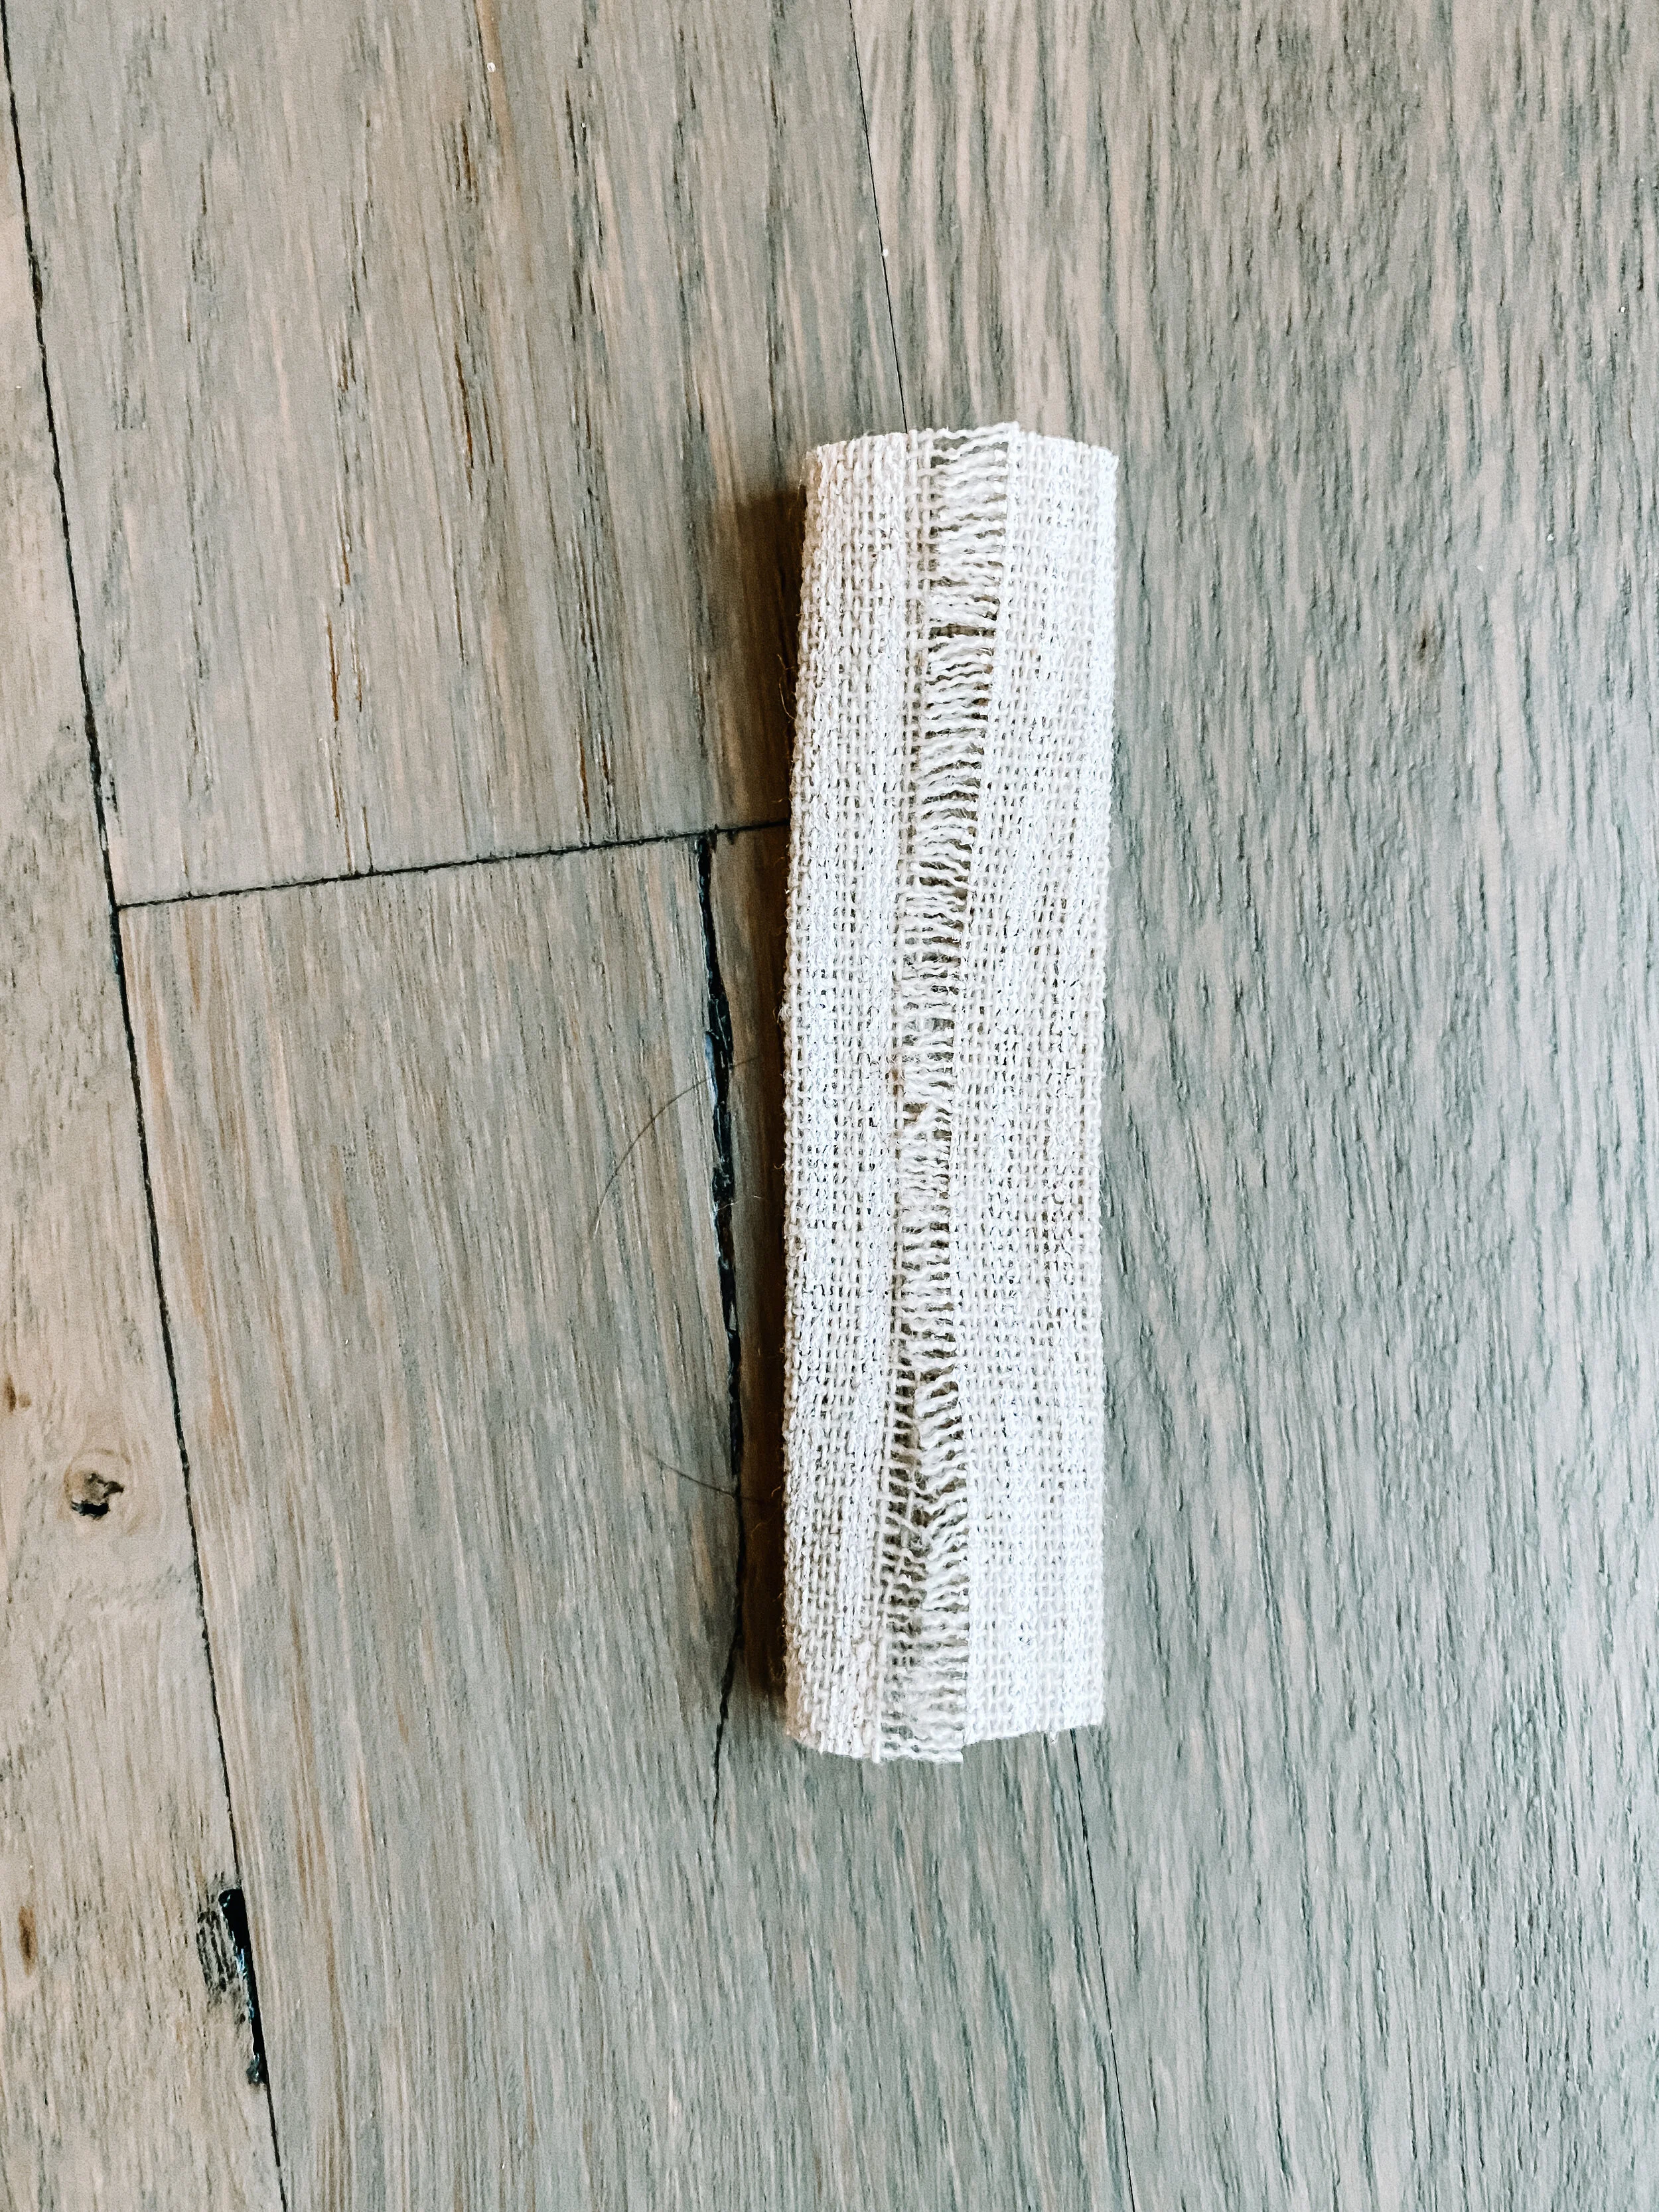
  • 2-4” wide ribbon of your choice. The ribbon I used can be found HERE.

  • Glue dots (find some HERE)

To start, my photo frames in this gallery are attached to the wall using Command Velcro (if you don’t know about this stuff, it’s AMAZING. Keeps me from having 500 holes in my wall! I use it everywhere!) So I knew I had to work around that on the back side. It had to remain clear so that I could put it back on the wall.

IMG_8131 2.JPG

I also didn’t want to waste paper on the back side of the frame, so I laid out the paper on the floor and only left about a 2inch margin all the way around - just enough to fold the sides like a regular gift and scotch tape on the back. Once I did that, I razor bladed the area around the Command Velcro on the back so that it was free to attach to the wall.

IMG_8130 2.JPG

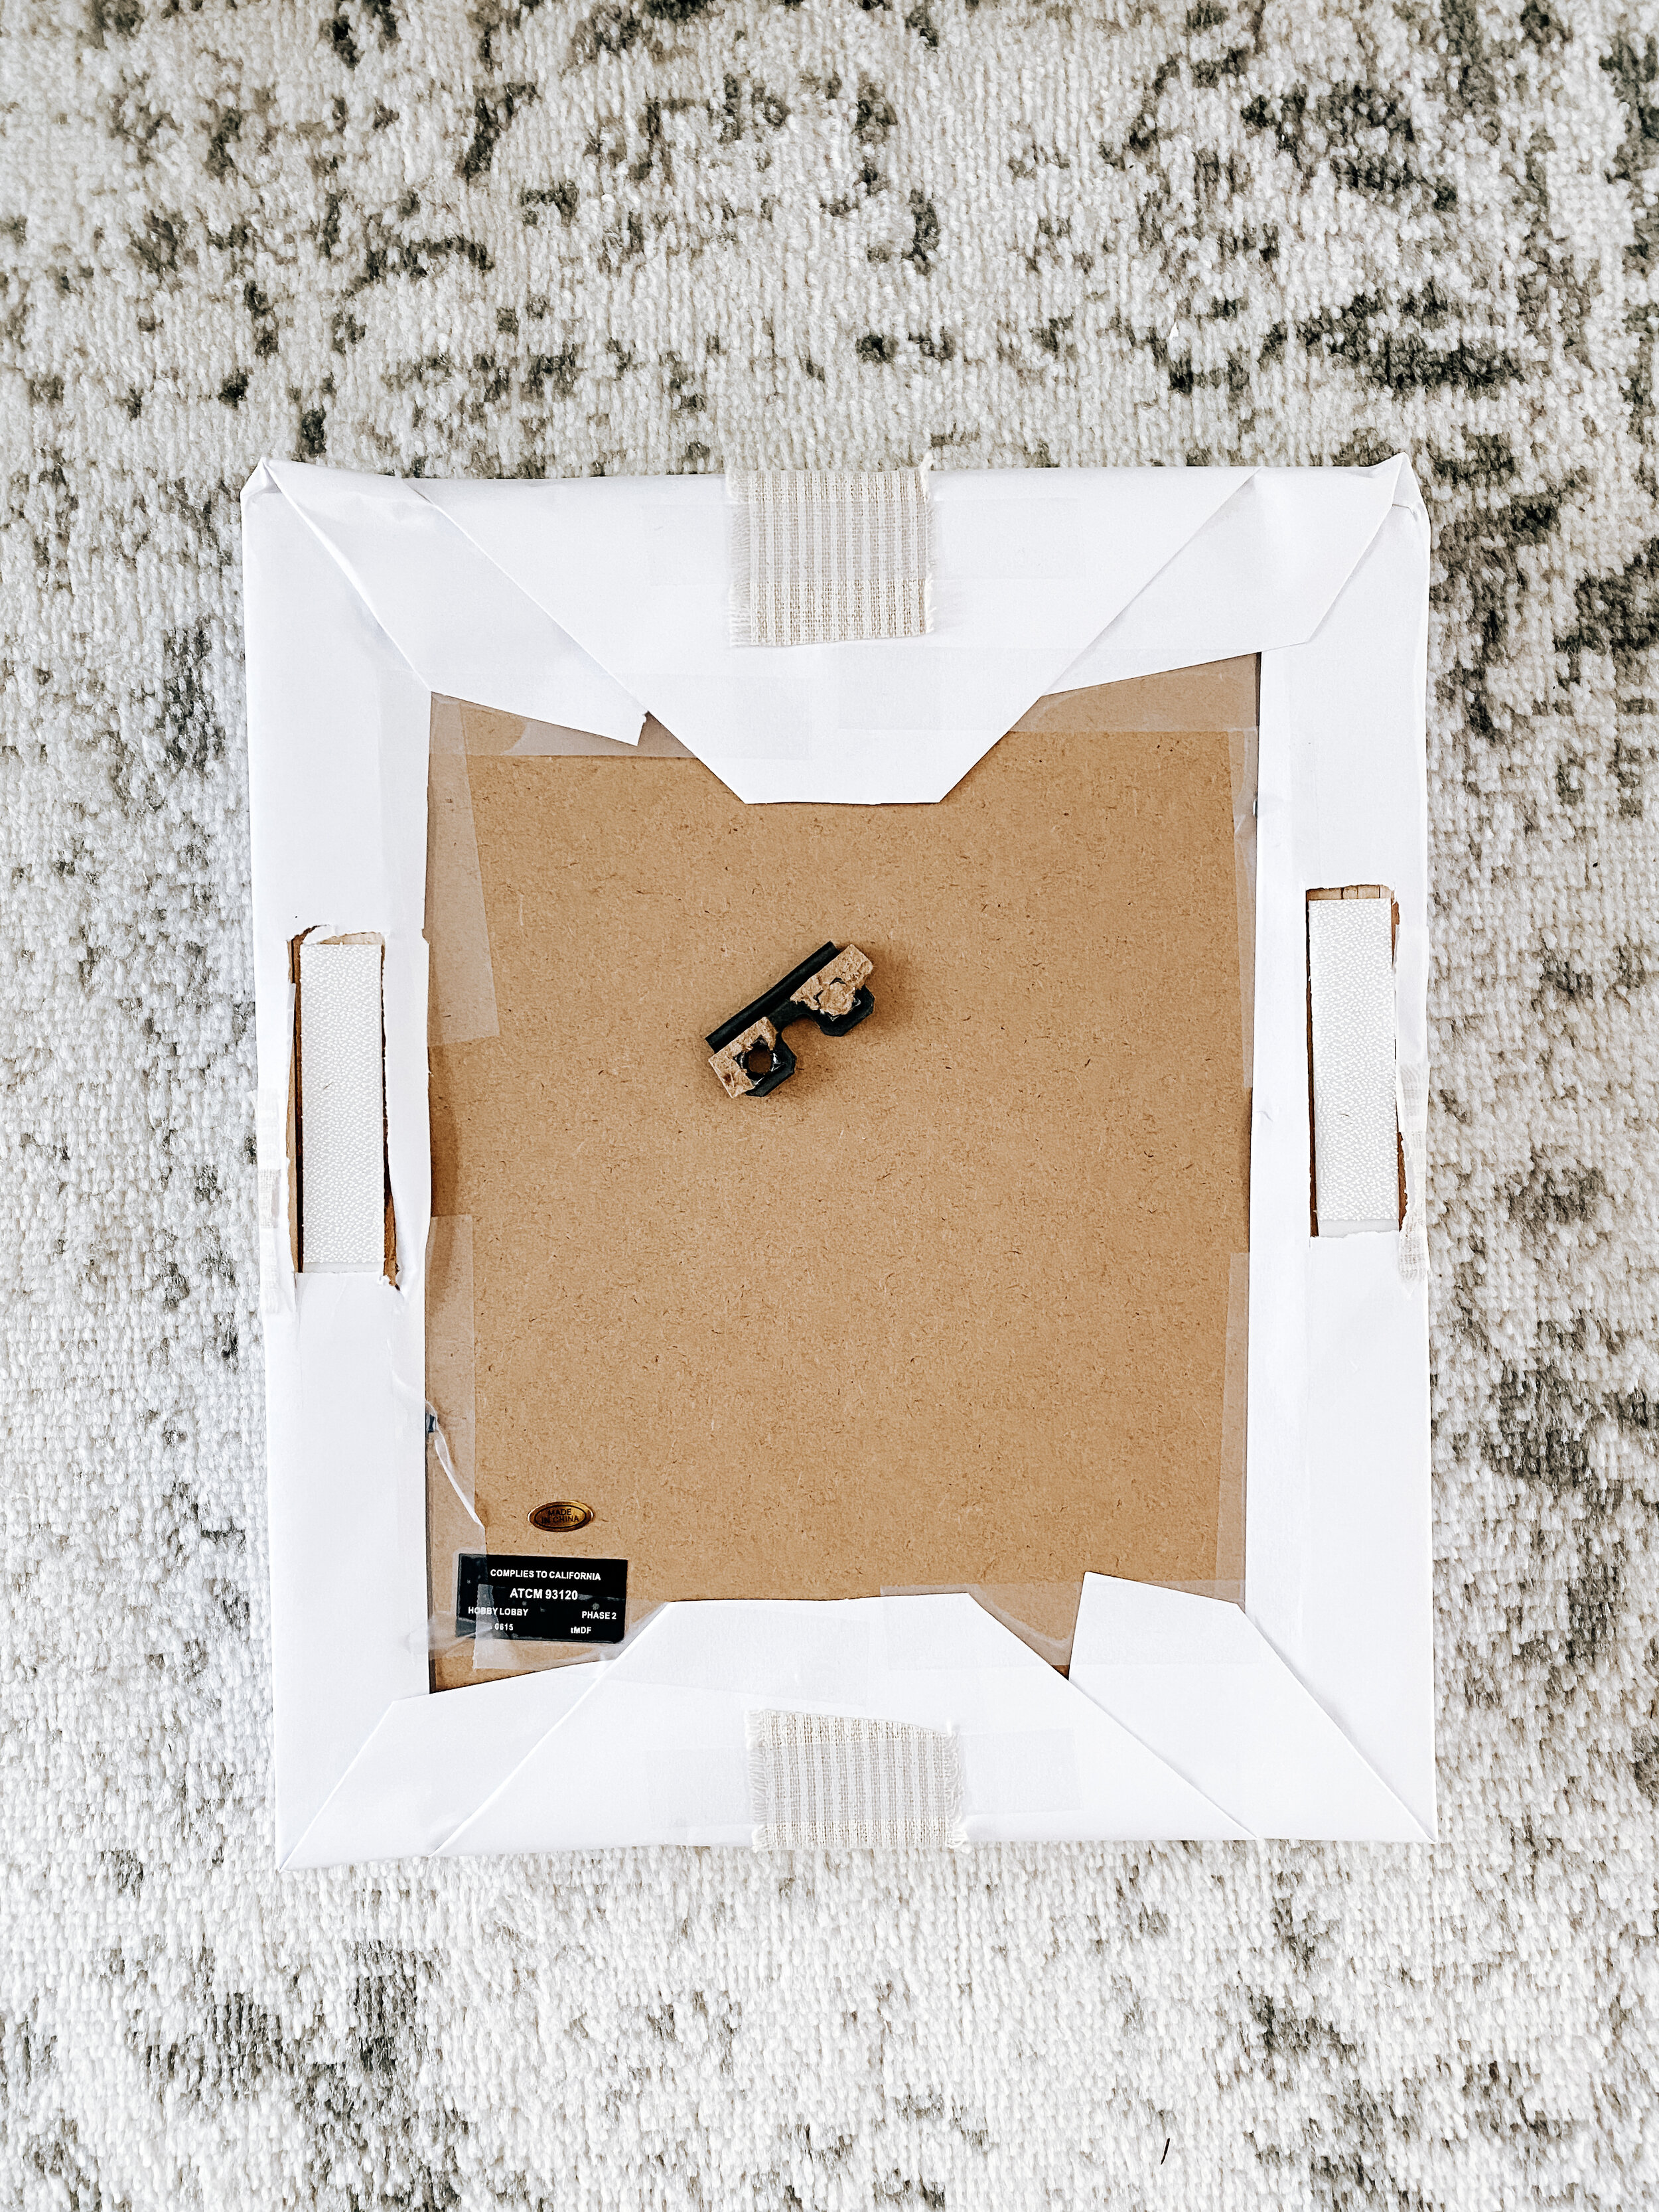
For the ribbon, I did the same thing as the paper - only using enough to just come around the back of the frame. On the sides where the Command Velcro was, I cut it just at the edge and used the glue dots to hold on each side.

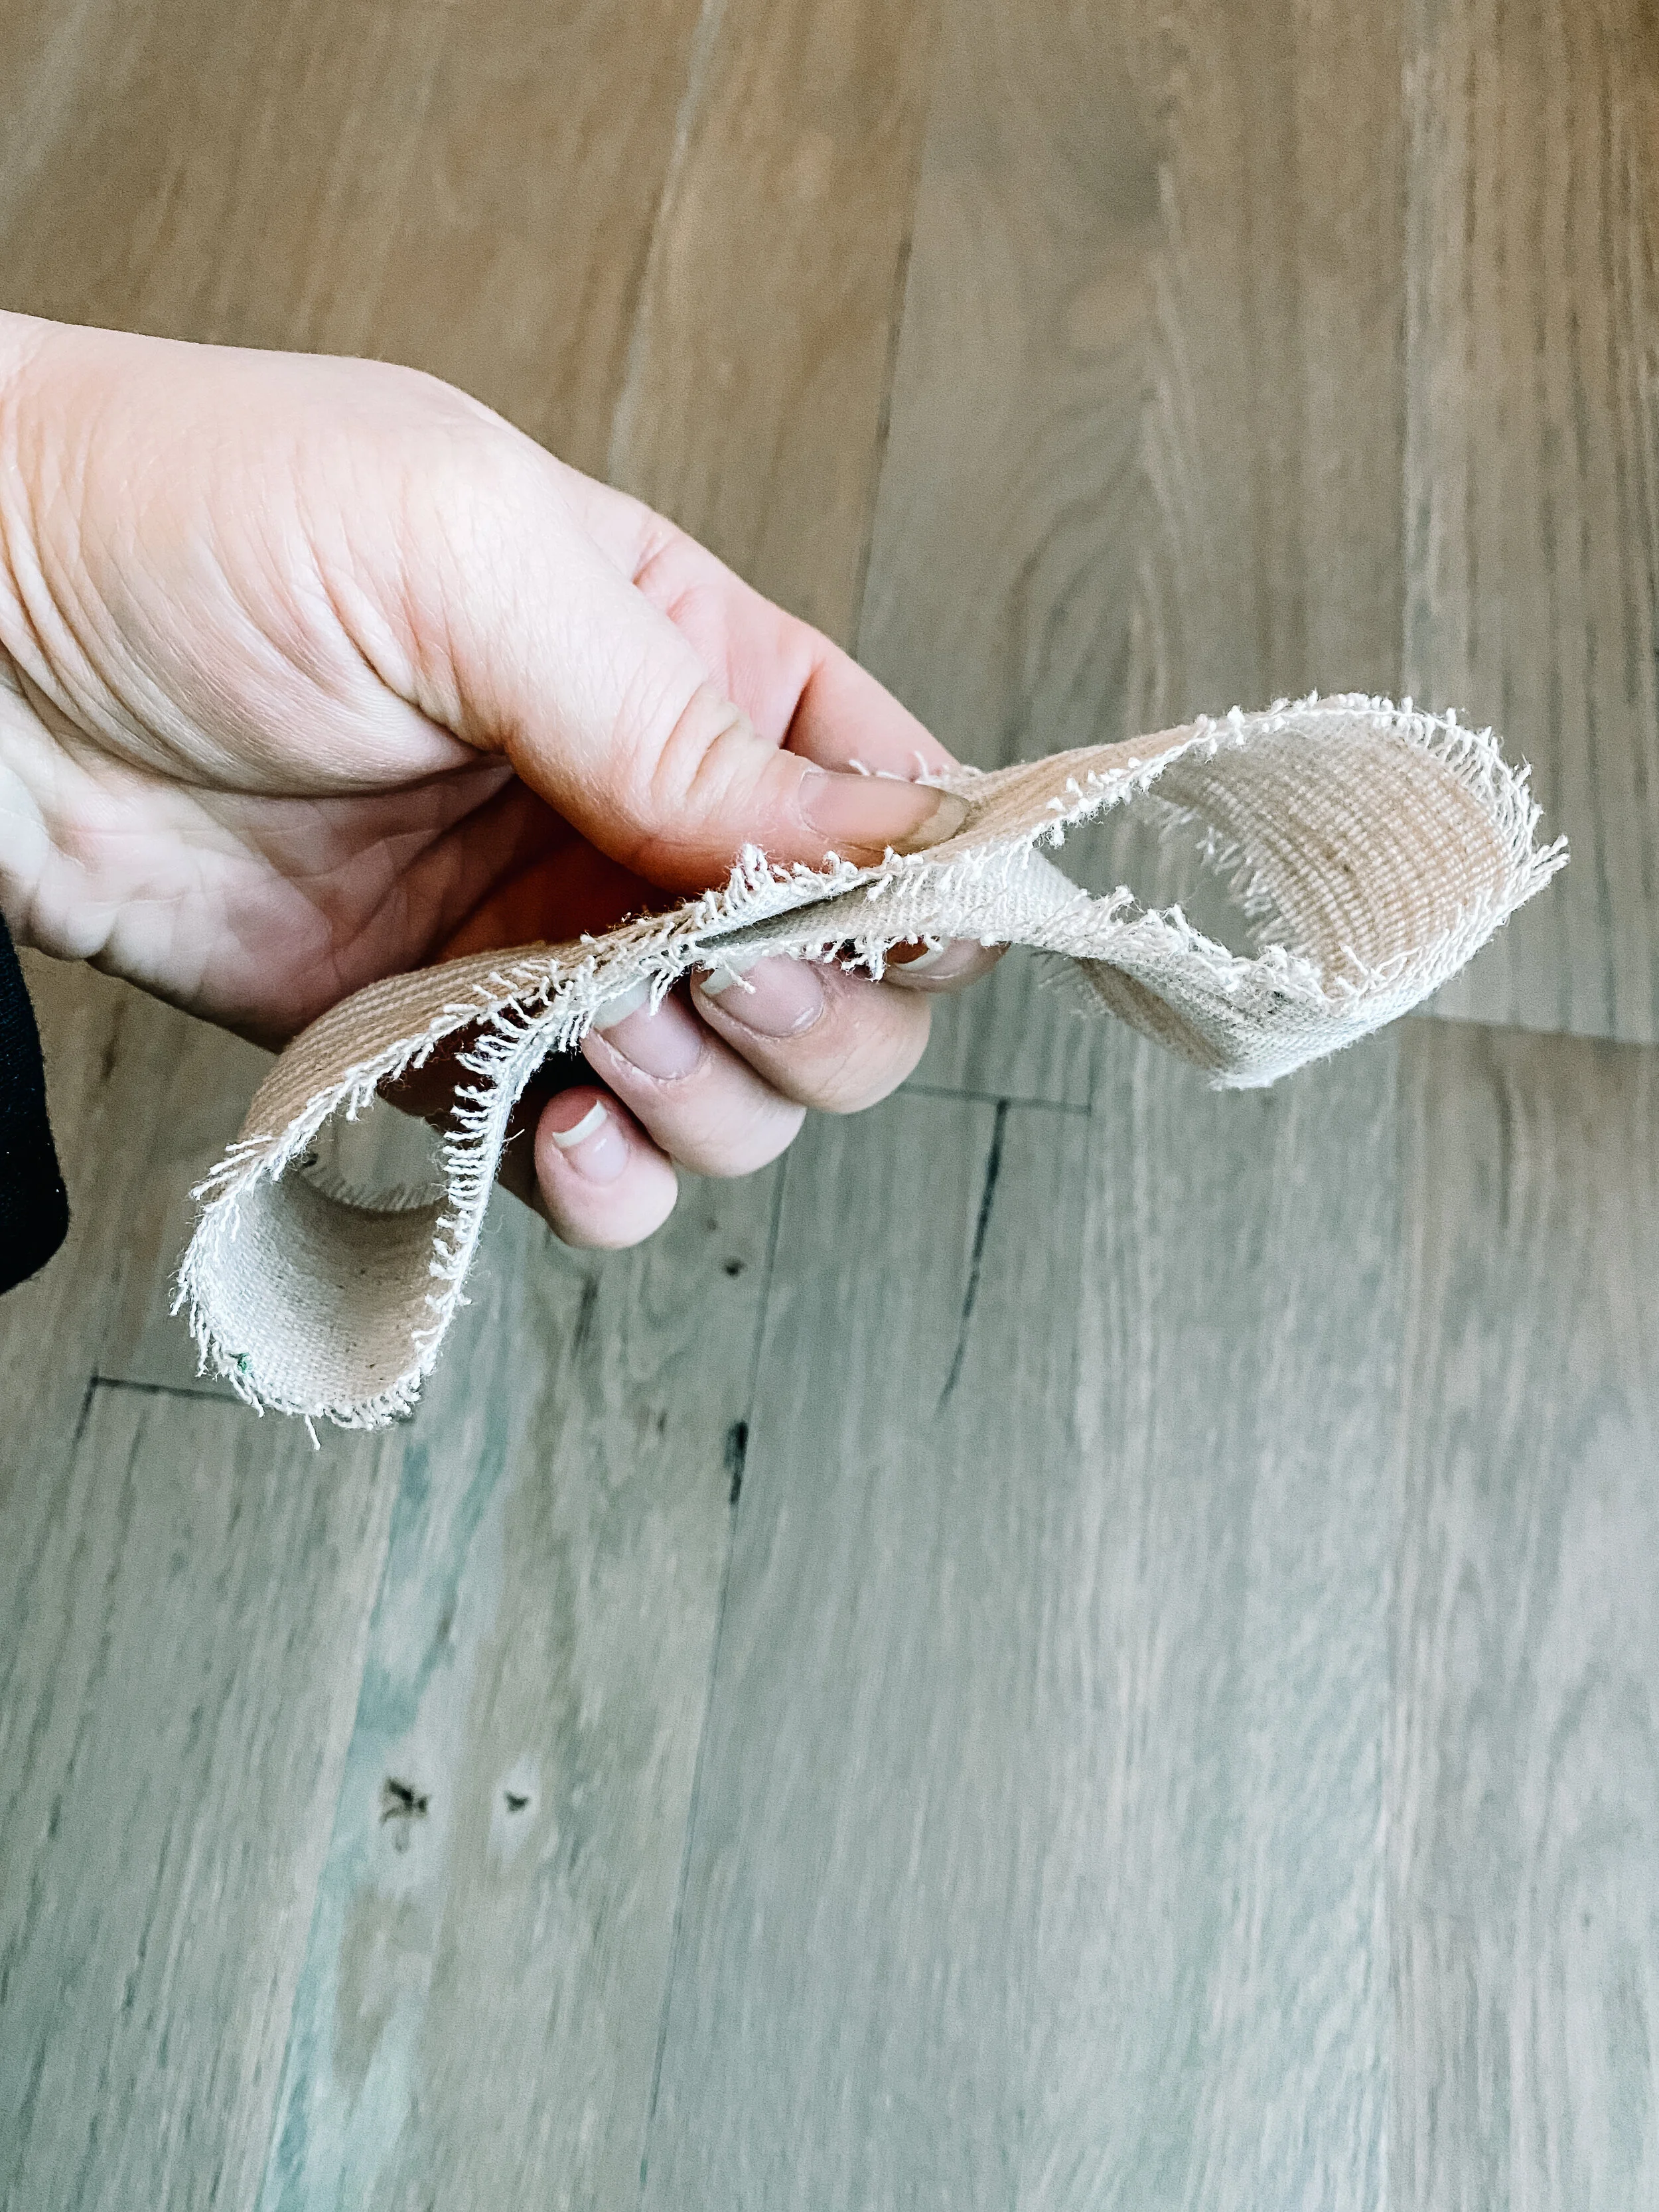
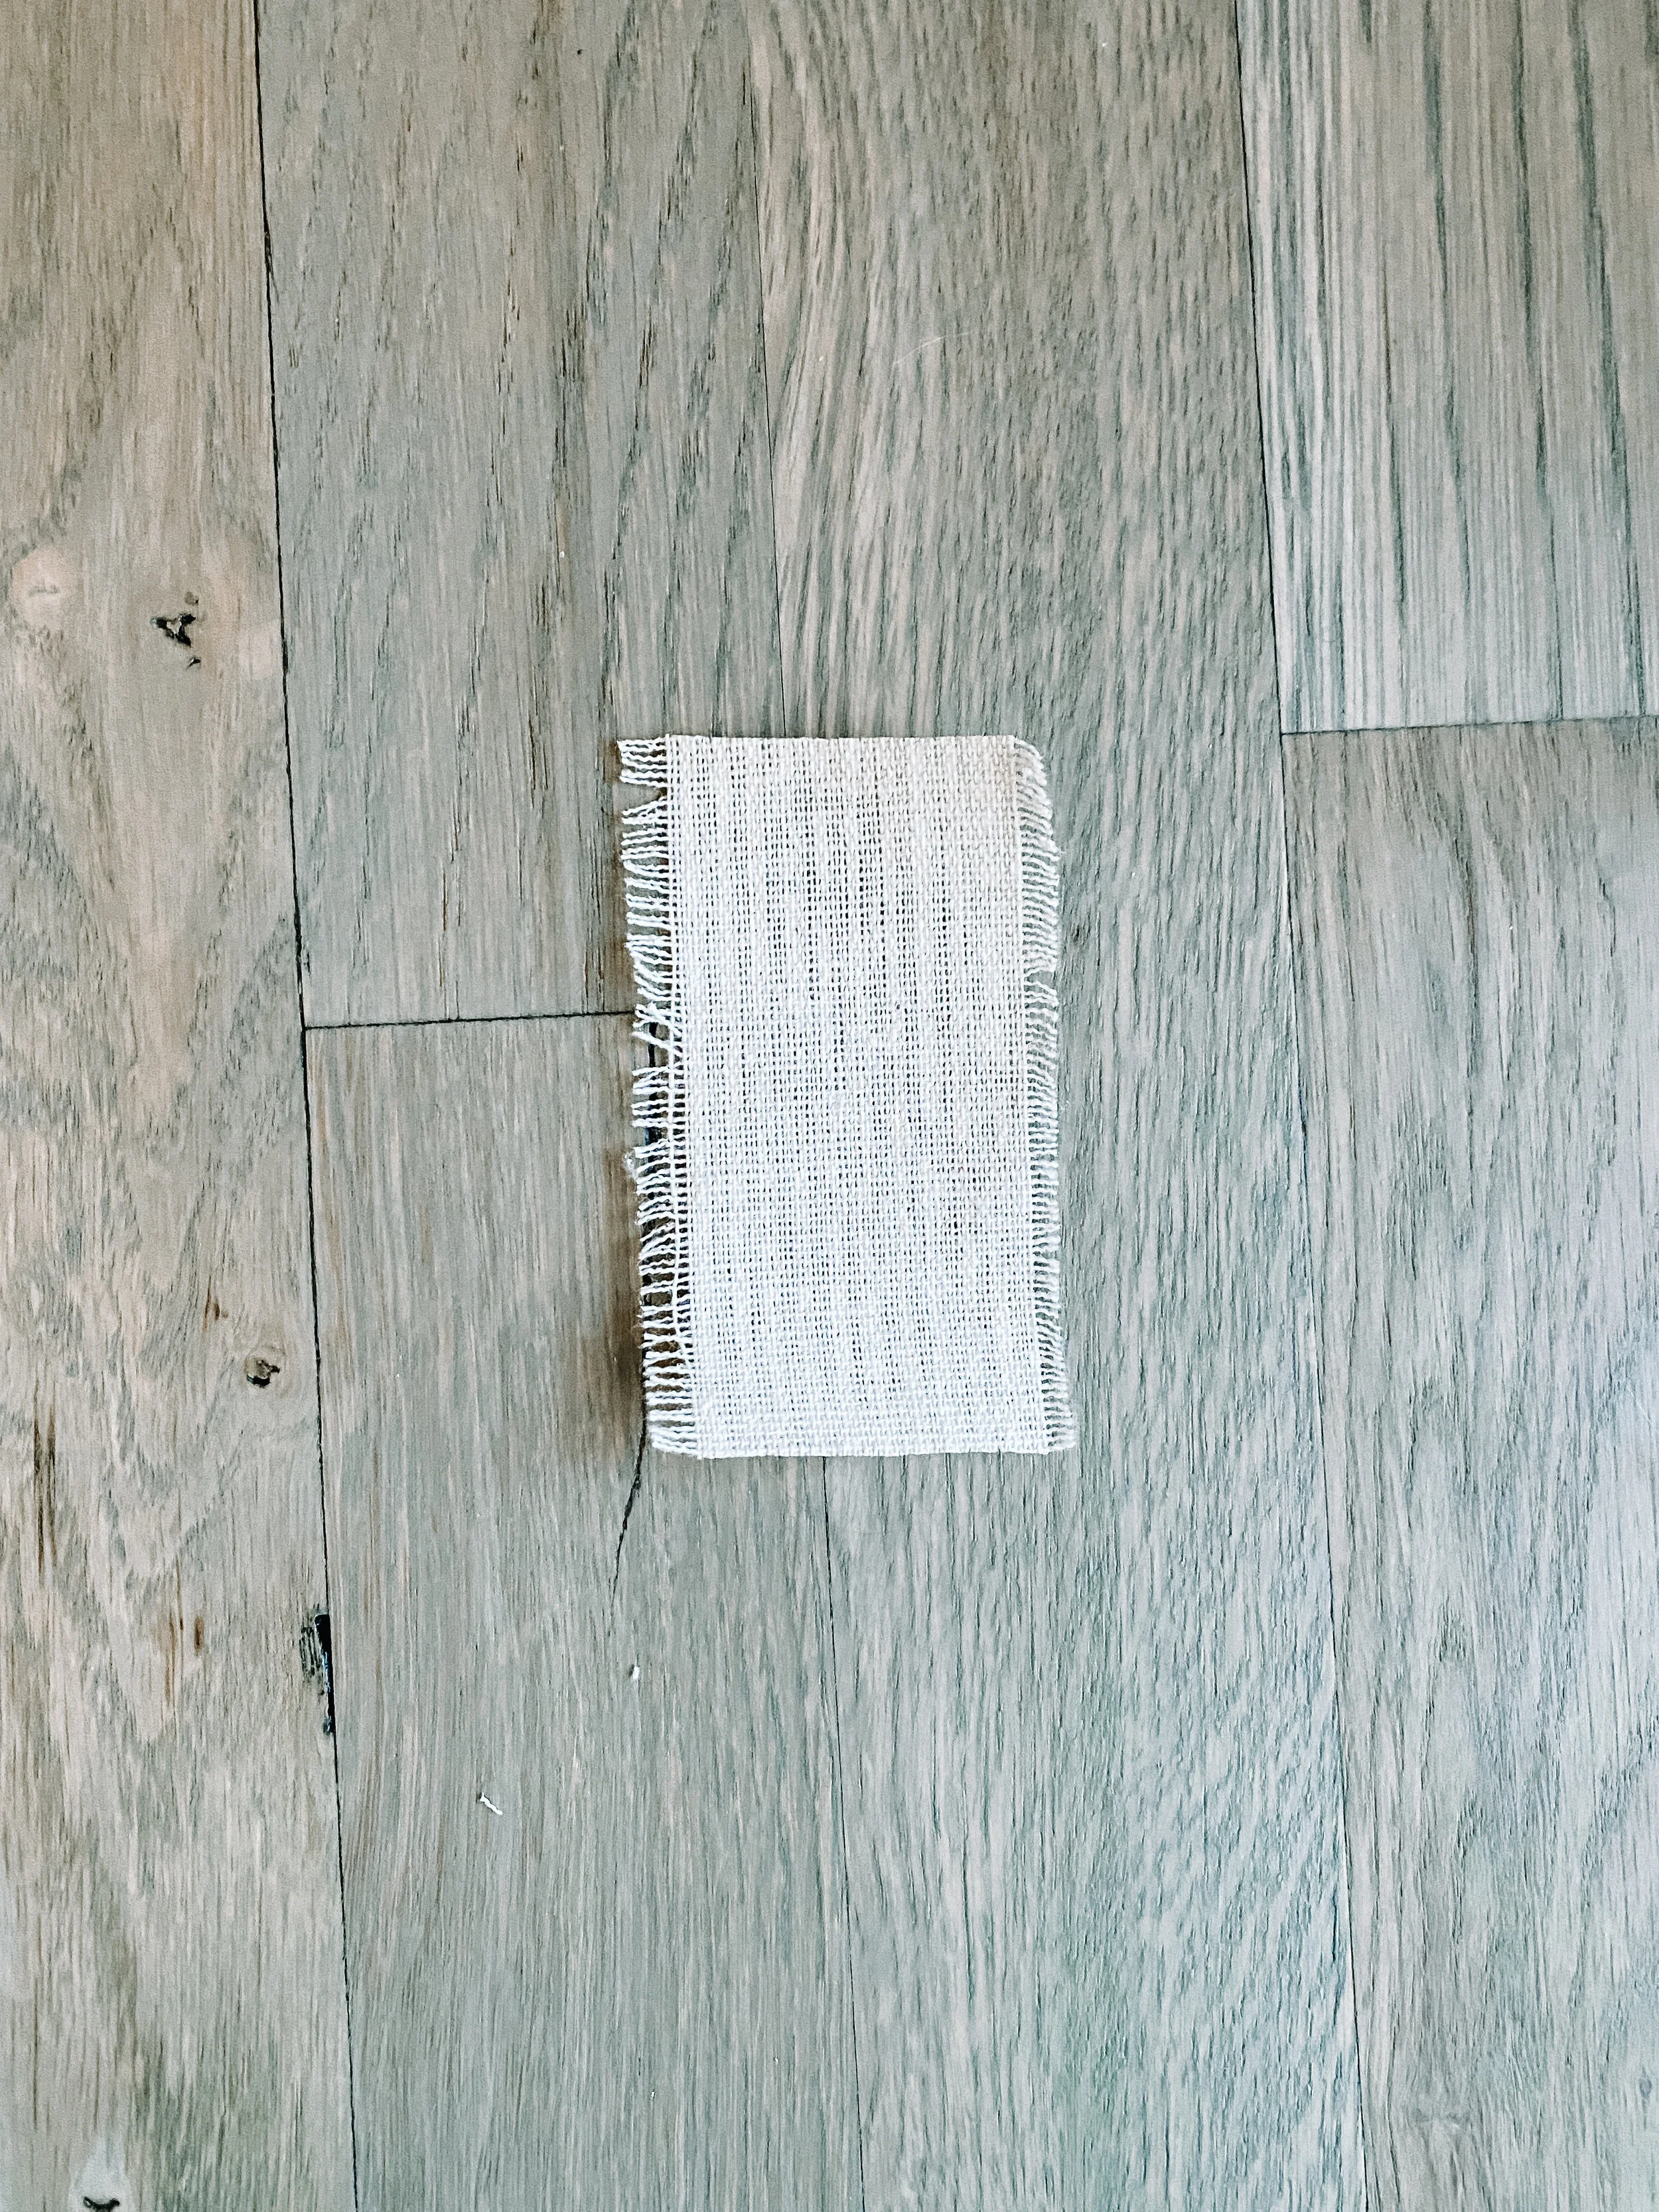
Next, I made my no-glue bow by folding two loops with the ribbon, then I cut a three inch strip of ribbon, folded in the edges on both sides and wrapped it around the back and secured with another glue dot. Piece of cake! One that was done I used one more glue dot to attach it to the front of the gift and done!

IMG_8157 2.JPG

Click those bad boys back into the velcro and you are done. When the holidays are over, be sure and keep the ribbon - it’s already pre-cut and will be even easier to recreate next year! You can do this on any gallery wall in your house…I think it would look even more fun if the frames are all different sizes! I love that you can also change out the wrapping paper and the ribbon every year if you wanted to match whatever theme you choose with your Christmas decor.

IMG_8155 2.JPG
_MG_1849.jpg

(DISCLAIMER: This post contains some affiliate links. This does not affect the price of the products you're purchasing, but I do receive a small kickback for any purchase made. I only link to products that I personally use and highly recommend!)

Holiday Home Tour: Part 4

IMG_8513.JPG

It’s that time…we’ve reached the fourth and final install of our Holiday Home Tour 2020. And this one is super fun since it’s all things kid, because what is more magical than seeing Christmas through the eyes of your child?!

This was our first year that our little man has really gotten into helping us decorate. This was also the first year we let him have his own tree in his room so he was elated to decorate that himself with some of his daddy’s childhood ornaments and some we’ve collected for him along the way.

IMG_8311 2.JPG

Mama also had a little too much fun with decorating the playhouse and the ice cream cart…but it’s ok, it’s 2020, right?!

Earlier this year we turned our basement into a full-fledged classroom for our homeschool learning pod, complete with an indoor play area. I bought a wooden playhouse online and found an old lemonade stand on Facebook Marketplace and gave them both a makeover! Here’s the before of both:

Untitled.jpg

Knowing they would both be used inside and wanting them to match the aesthetics of our home a little more (plus, the kid inside just wanted them to be super fun and cute). I painted them both white and jazzed them up a bit, turning one into an ice cream and sweets cart. Now this week I transformed our play area into a winter wonderland!

Over in the classroom portion of the basement I also put up a tree that is very special to us. Just shy of two months ago my 96 year old grandmother went to be with Jesus. We had a very special bond, and my heart already aches just thinking about going into our first Christmas season without her. I used to go to her house every year and put up her tree for her. It wasn’t much, just a small little white tinsel tree, but it was SO special to me that we got to keep it after she passed.

IMG_1157.JPG

It turns out the tree was just the perfect size to fit in our classroom, so we put a little bit of our own style own it and now my son loves to light up “Mema’s tree” every morning before class. I love that just a little bit of her is there with us for the holidays.

IMG_8575.JPG
IMG_8576.jpg
IMG_8584.JPG

Well that’s it! We hope you’ve enjoyed our home tour…now we’re off to figure out what we’re doing on the outside of our house! I don’t think we’ll go full Griswold this year, but don’t worry…it’s gonna happen one of these days, if I have anything to do with it. 😉

Stay tuned…in the next few days we’re going to give you some of our DIY decorating tutorials to help you make your house jolly!

Happy decorating!

signature.png


Shop the look

(DISCLAIMER: This post contains some affiliate links. This does not affect the price of the products you're purchasing, but I do receive a small kickback for any purchase made. I only link to products that I personally use and highly recommend!)

Girls Movie Night Elf Party

Girls Movie Night Elf Party

Check out all the adorably themed details of this Girls Movie Night Elf Party!