
I have an entire drawer full of all the cutest wedding favors I've ever received...
...said no one ever.
Let's be honest - most wedding favors don't even make it out of the car on the way home. They either get left at the reception, or they're in the next round of things you toss in the garbage can when you're bored at the gas pump and decide to start cleaning out the trash in your car. I am well aware of this rule.
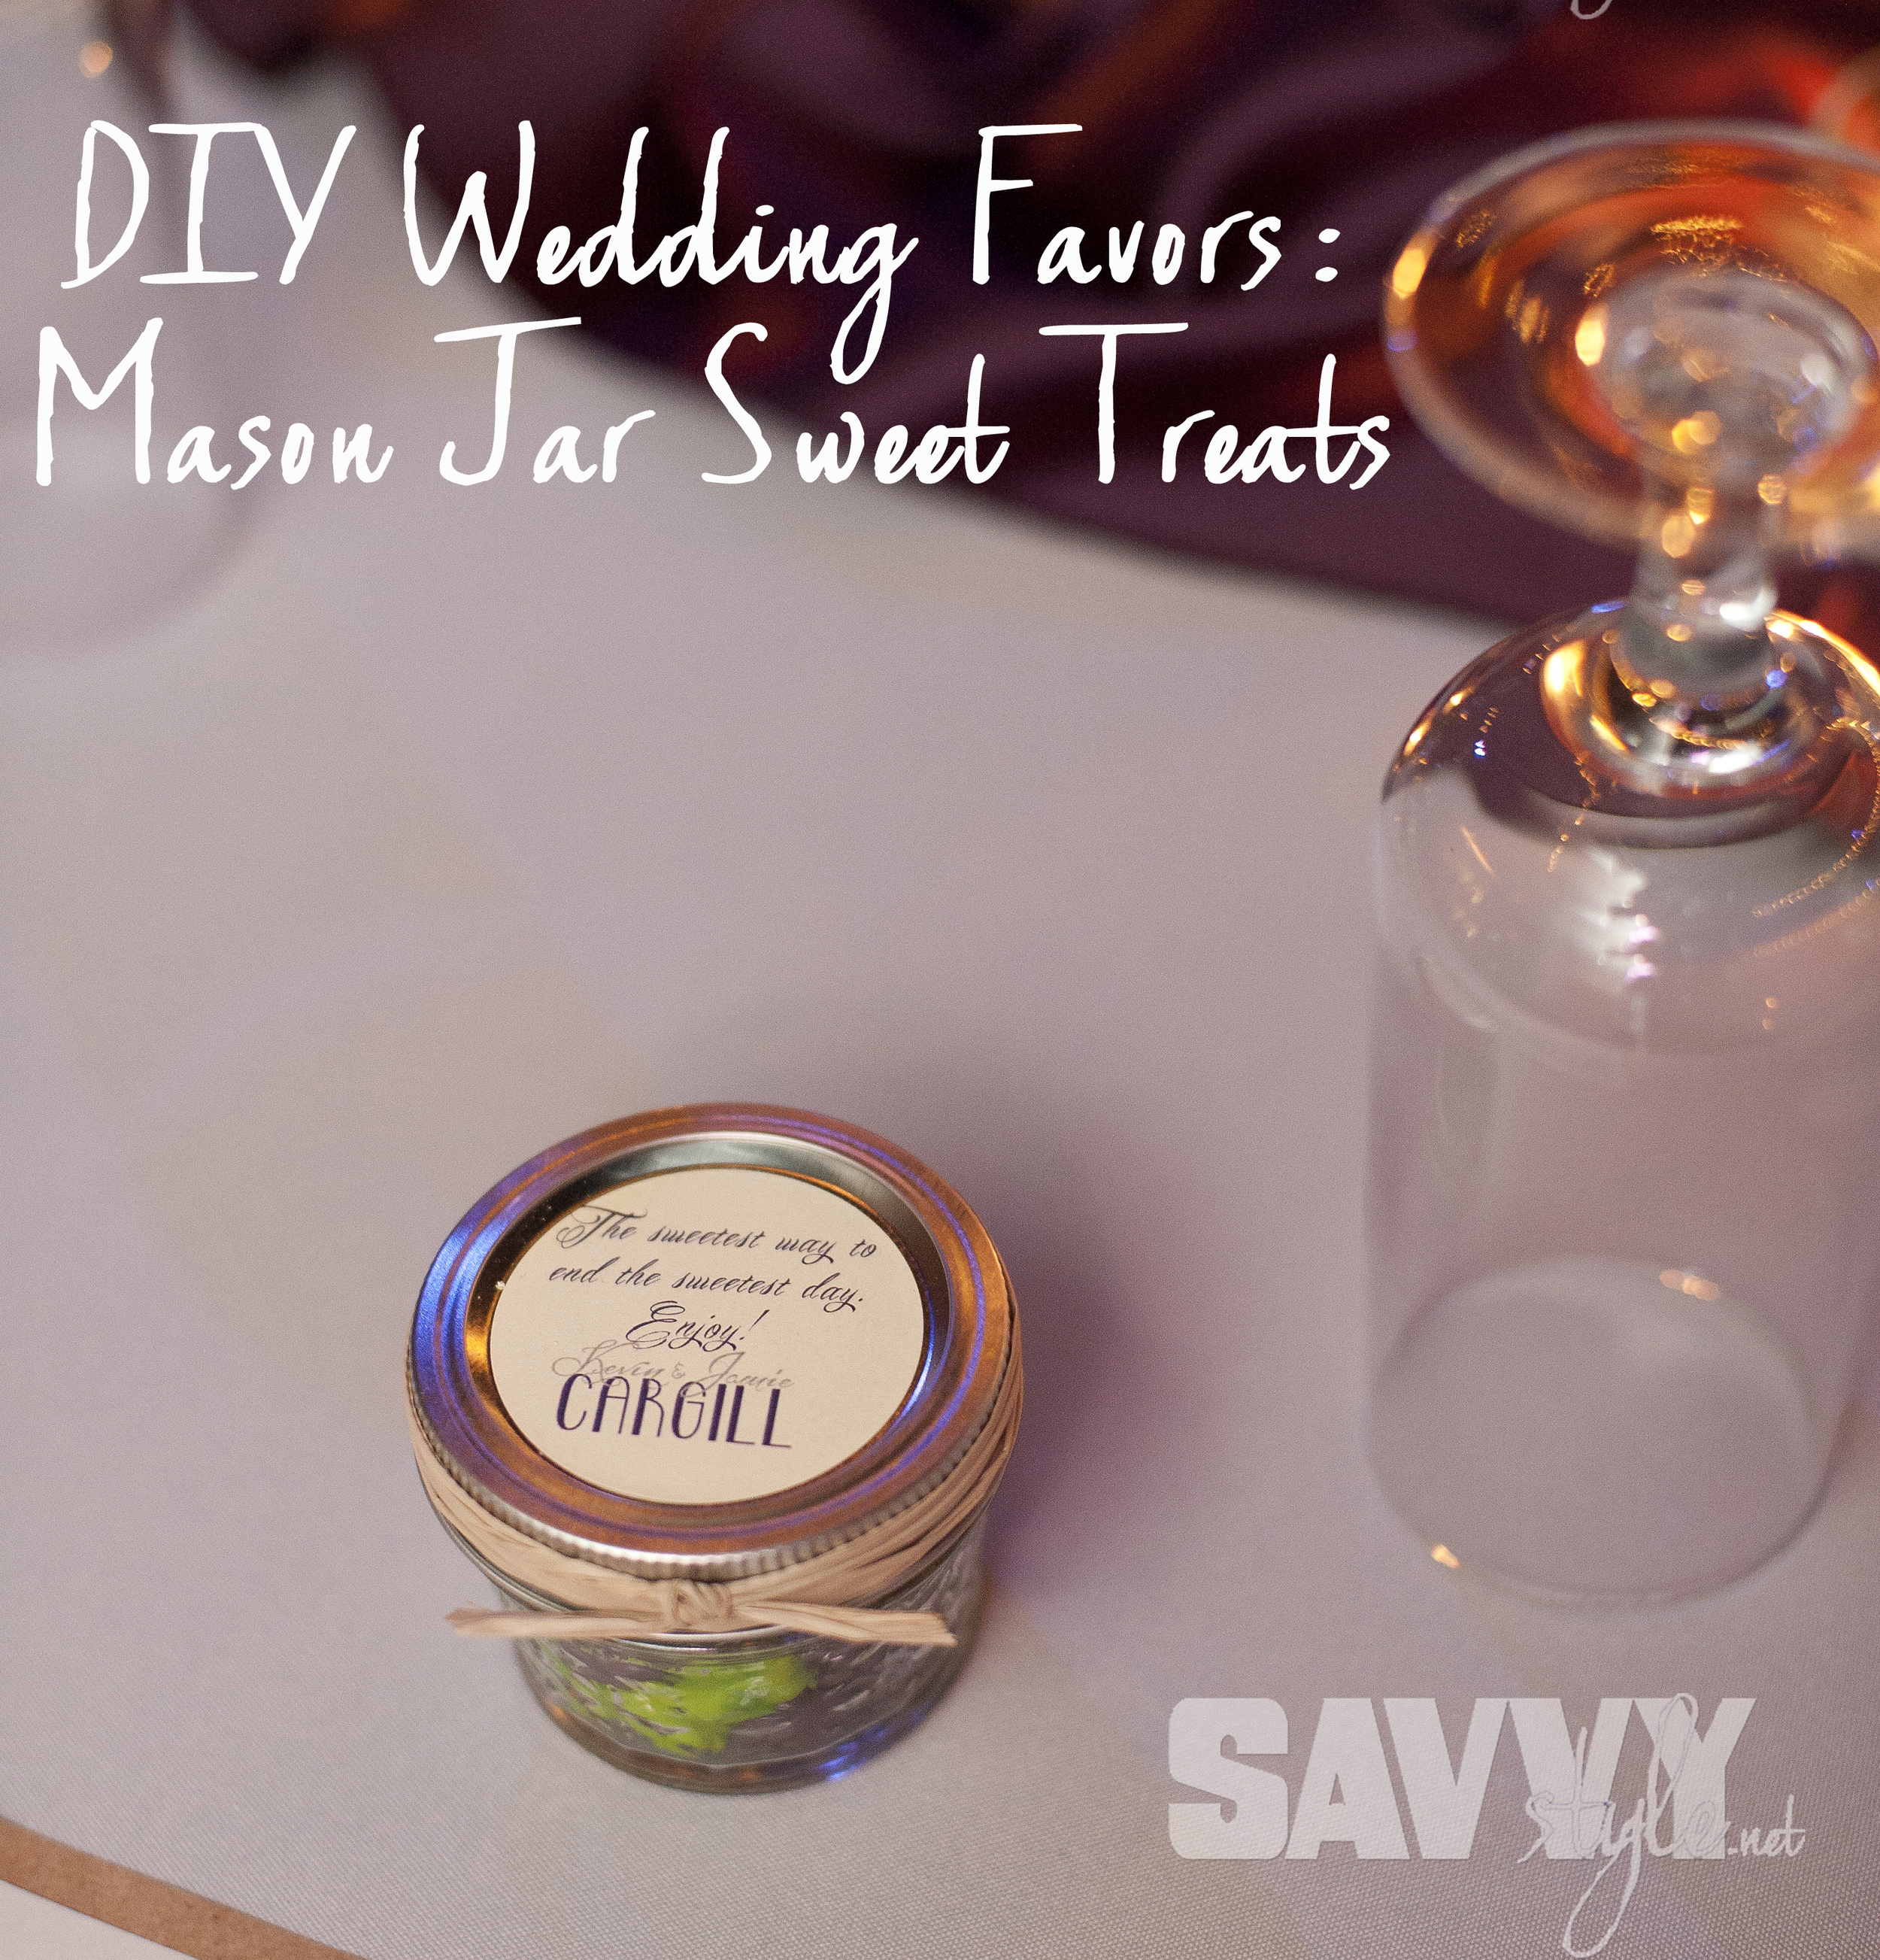
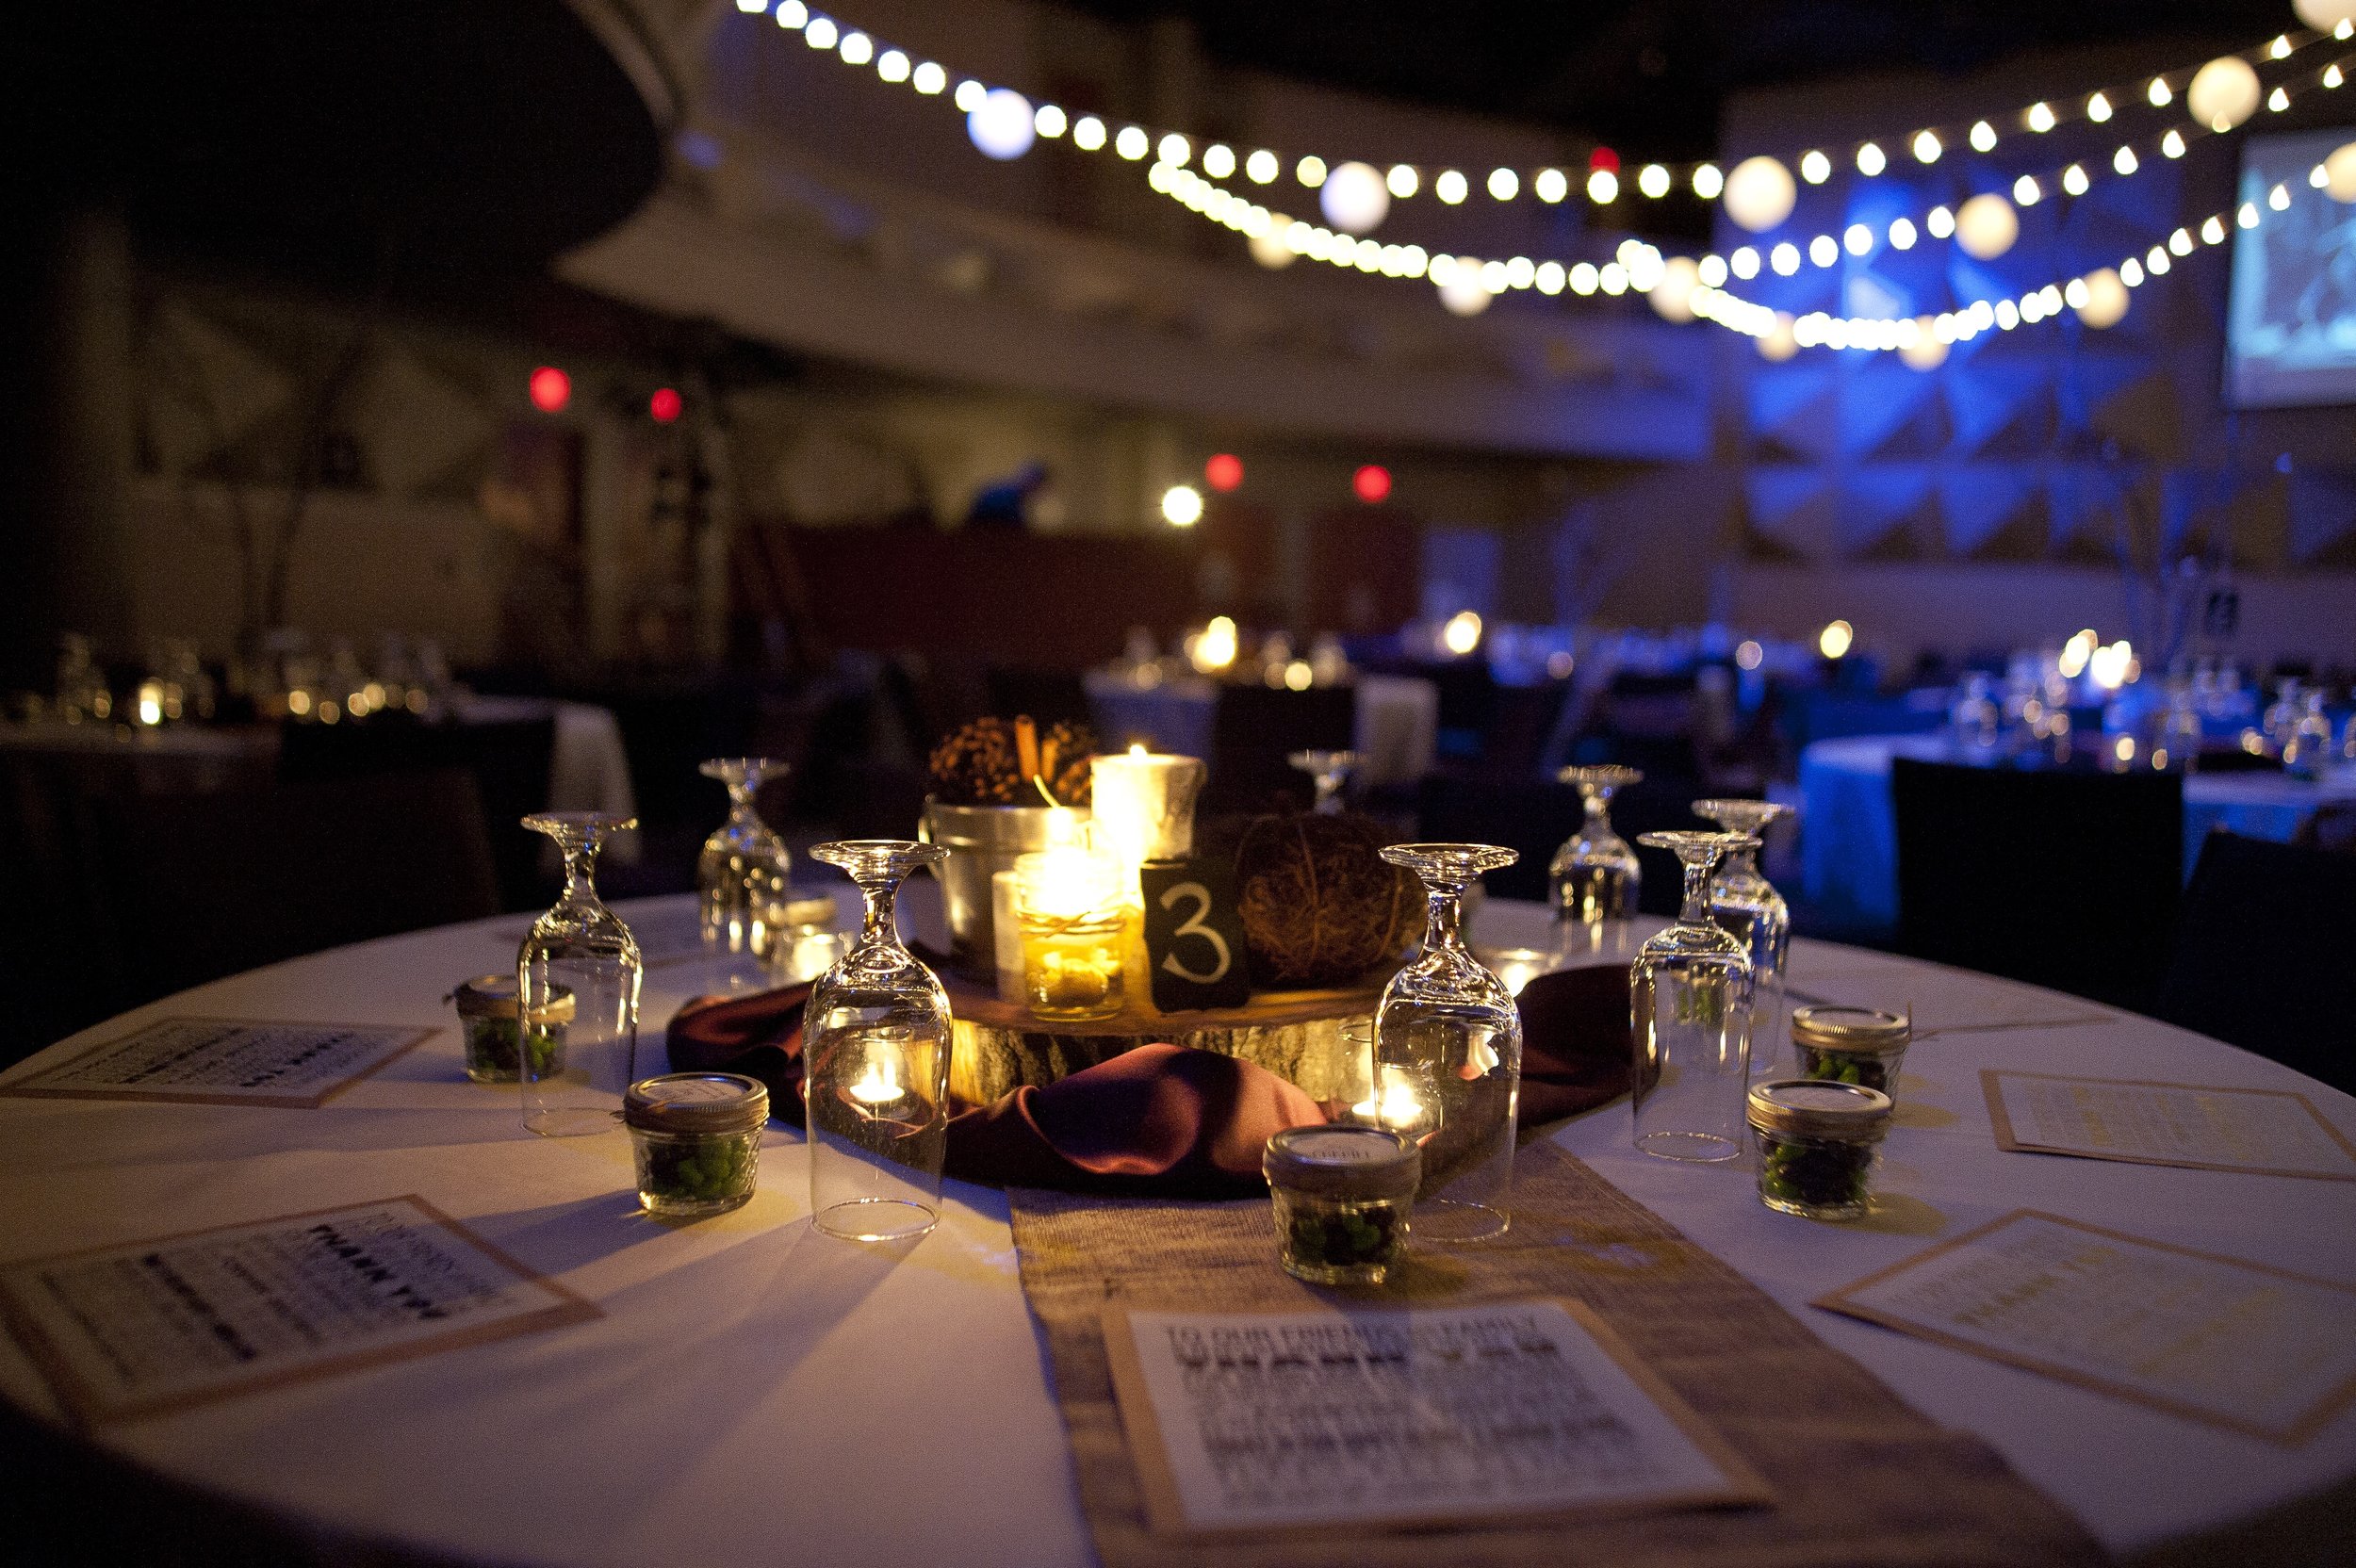
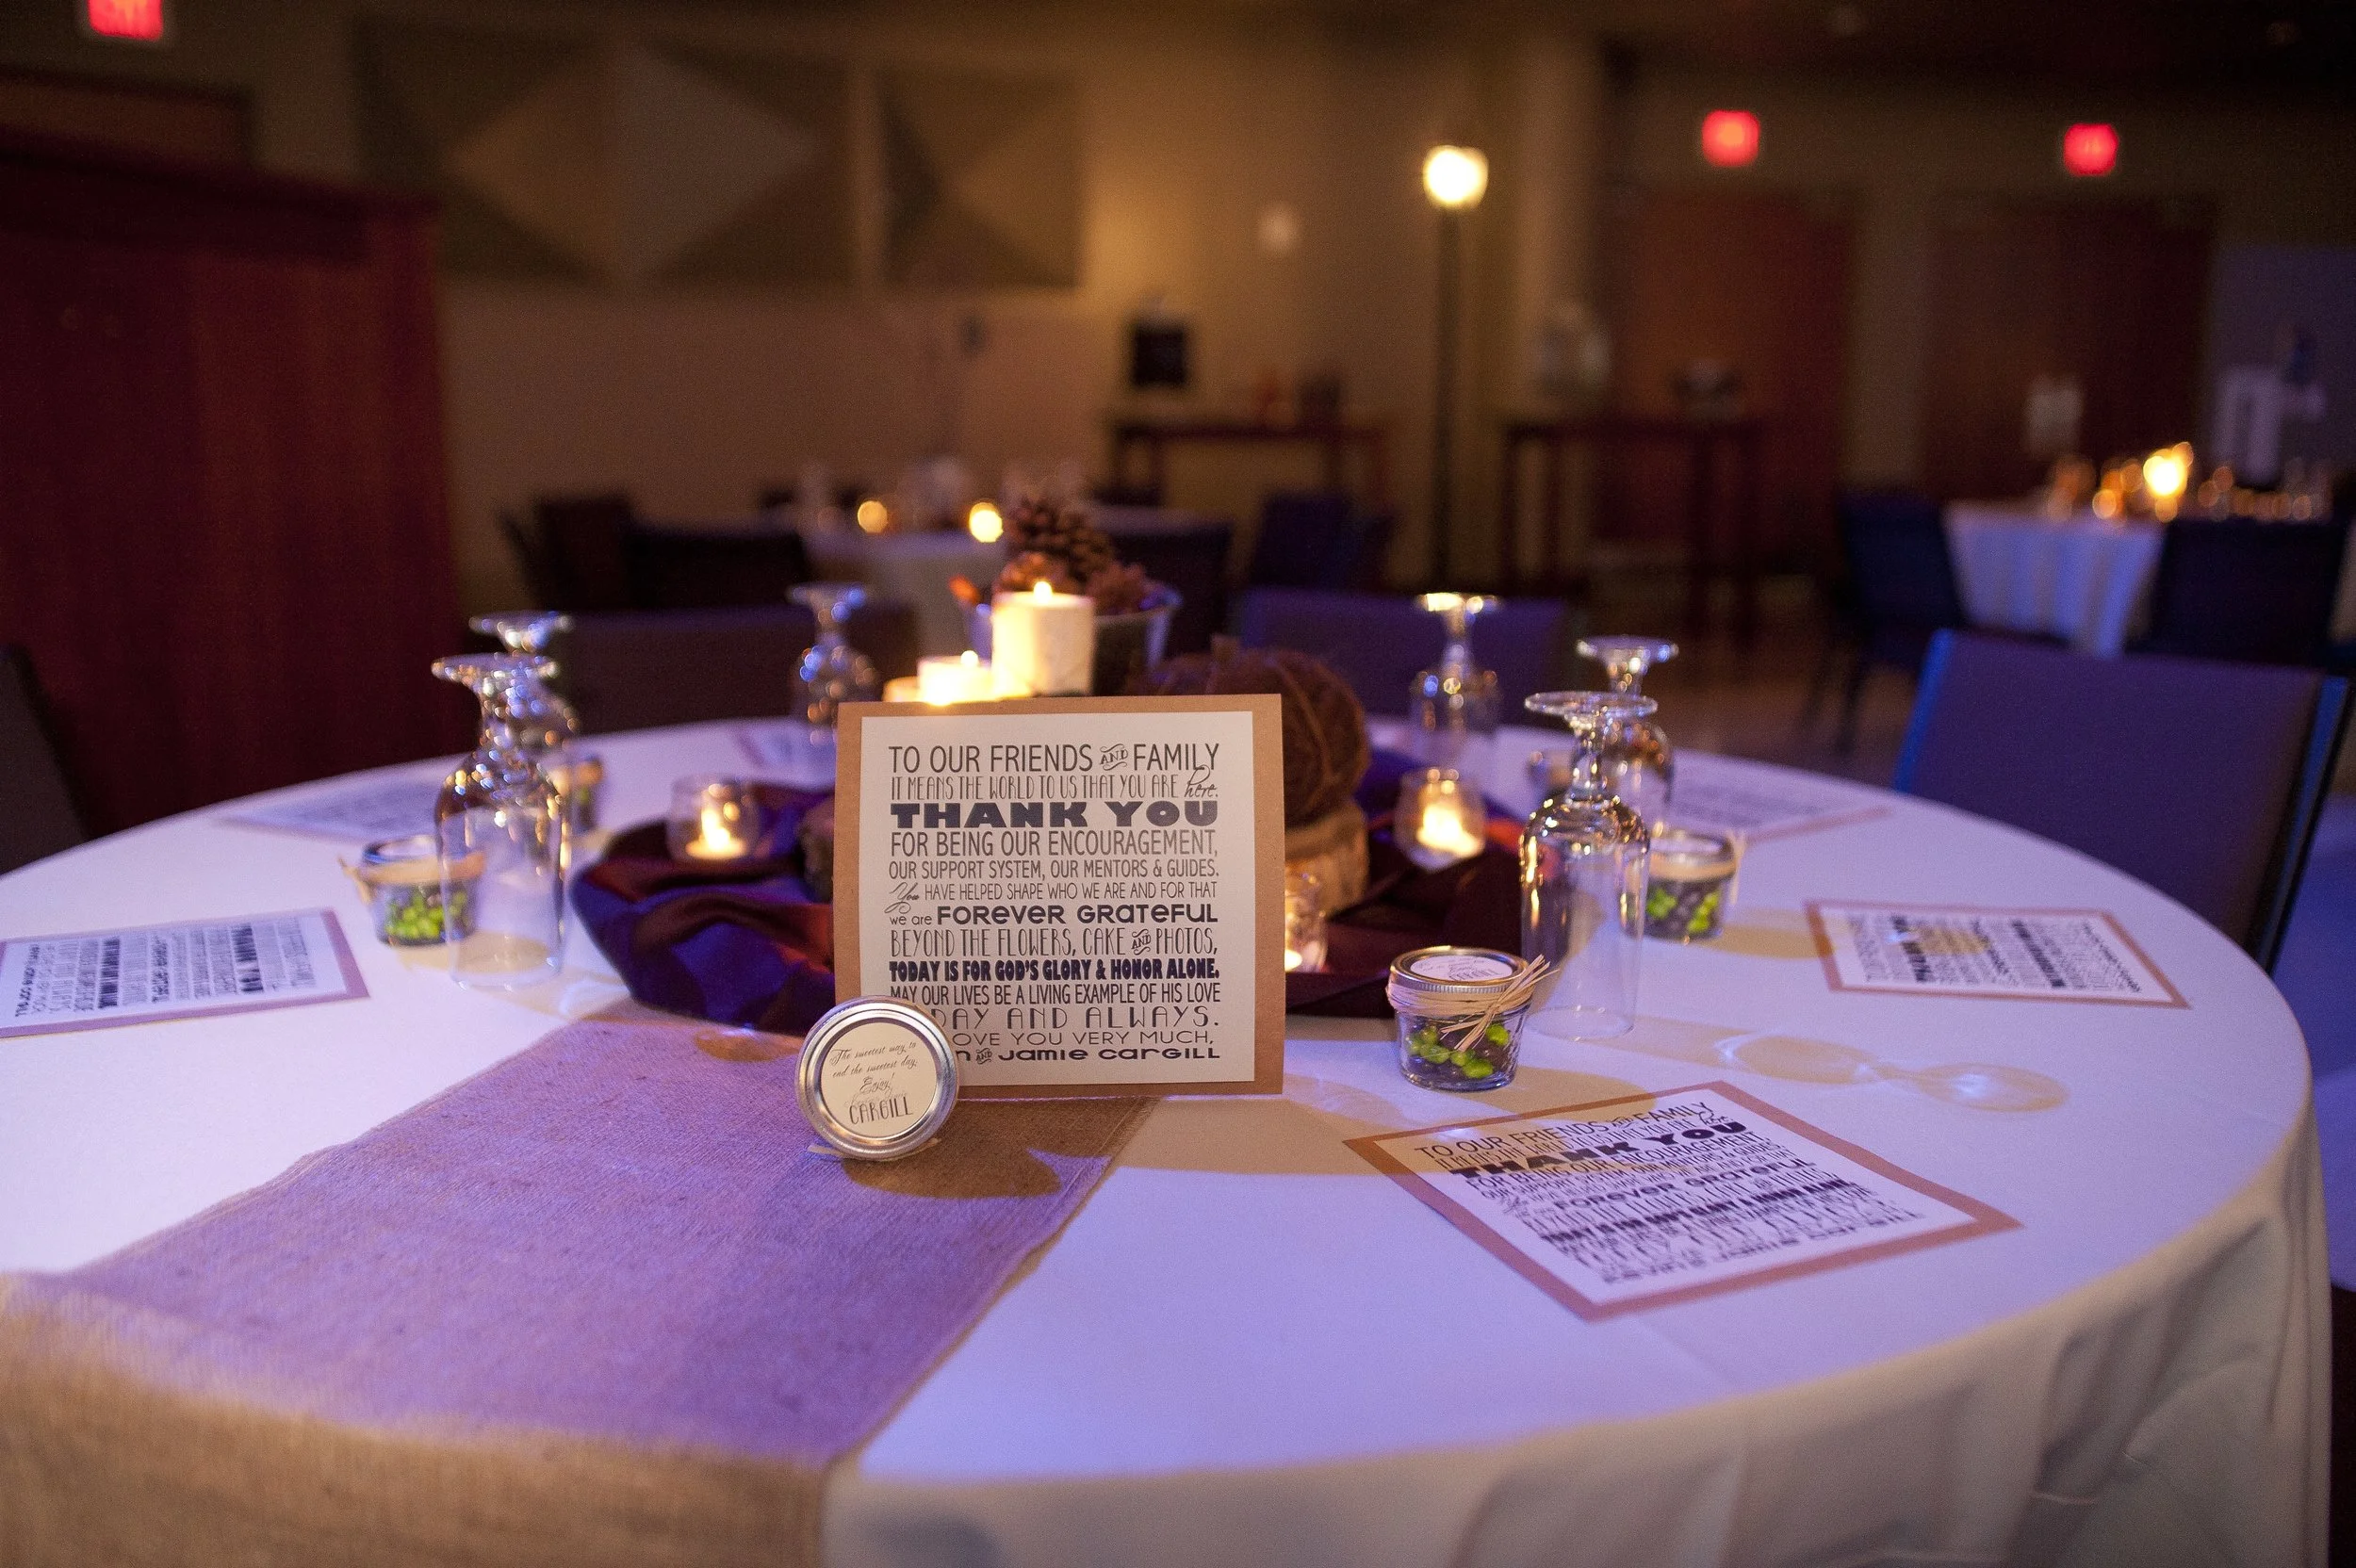
Even so, at our wedding I wanted to do a simple an inexpensive favor that made each place setting feel a little more personalized (and tied to our theme). A sweet treat they could actually enjoy at the reception (if they wanted to) and not feel like I wasted a ton of time when they were tossed later. And bonus: lots of people use mason jars at home, so these bad boys are reusable...they make a great traveling jewelry jar for the nightstand!
Here's how I made them:
Step 1: Do a little research.
You can find Mason Jars everywhere...and I mean everywhere. They even have them by the case at Publix! We did tons of online research and found them really cheap on several websites...however the shipping wound up being almost three times the cost of the actual jars! Crazy.
We landed on wanting the 4oz Ball Mason Jars, and we found a great deal through Ace Hardware, of all places. They were $9.99 for a case of 12 online, and even better...they ship them FREE to a local Ace near you, all we had to do was swing by and pick them up!

ball-mason-jars-4oz
Step 2: Printable Labels.
We found the perfect printable labels online as well, from a company called lablesbythesheet.com. They were super cheap (less than .75 per page) and they have a ton of online templates you can dowload directly into Microsoft Word to design and print...it was super easy!
For a 4oz jar, we needed the 2 inch diameter round labels. We chose ivory, but there are other colors available. You can find those labels here: 2in Round Labels.
See how nicely they fit?

Since the free template downloaded into Word, I just created the text from there. You don't have to be a super-pro designer to do this, either! There are all kinds of free pretty script fonts that you can download...two of my favorite font websites are dafont and Scrap Village.
Our name logo at the bottom I did design in Photoshop using some of the free fonts, however if you don't have Photoshop or don't know how to use it, you can still create something similar! Back in the day when I was just experimenting with designing things, I would actually create them in Power Point. You laugh, but it totally works.
Because the paper margins are square and the labels are round, I did have to print a few test sheets onto plain paper to make sure the text I inserted didn't get cut off of the label. Be sure to do this before you send all of your labels through the printer!
Step 4: Fill them with yummy goodness!
My two accent colors for the wedding were dark purple and green, so I knew I wanted to use those for a pop of color on the gray linens. I ordered Jelly Bellies in bulk...in just those two colors so that I didn't have to spend days upon days eating, I mean sorting candy. I ordered those here: Bulk eCandy
Step 5: The finishing Touch.
To finish them off, I took two pieces of the Dollar Store raffia and wrapped them around the lid, tied them in a double knot and cut off the excess. Volia! Finished product:
That's it! What's the best favor you've ever received? Or maybe that actually made it home...
